What is the Media Library?
In the Media Library you can add and manage all your images and videos.
Everything you add to the Spectator WebApp’s Media Library, is also immediately sent to the Operator’s Media Library in the HoloLens and can then be viewed on the Virtual Whiteboard in the original quality of the file.
If you want to show a longer video to the Operator, please consider using remAids Screensharing feature. To find out more about that please refer to the Screen Sharing Guide a little further down.
Another important aspect about our Media Library is that it is only temporary. All files added to the Media Library are only stored as long as the session persists. Once the connection ended, all files will be deleted from both the WebApp and also from the HoloLens. So you do not have to worry about deleting sensitive data. The next session will always start with an empty Media Library.
Adding Images and Videos to the Media Library
The Media Library can be accessed in two different ways:
1) Quick access Media Library in the Whiteboard View:
Open the Whiteboard View, by clicking on the Whiteboard icon in the middle of the left sided menu bar.
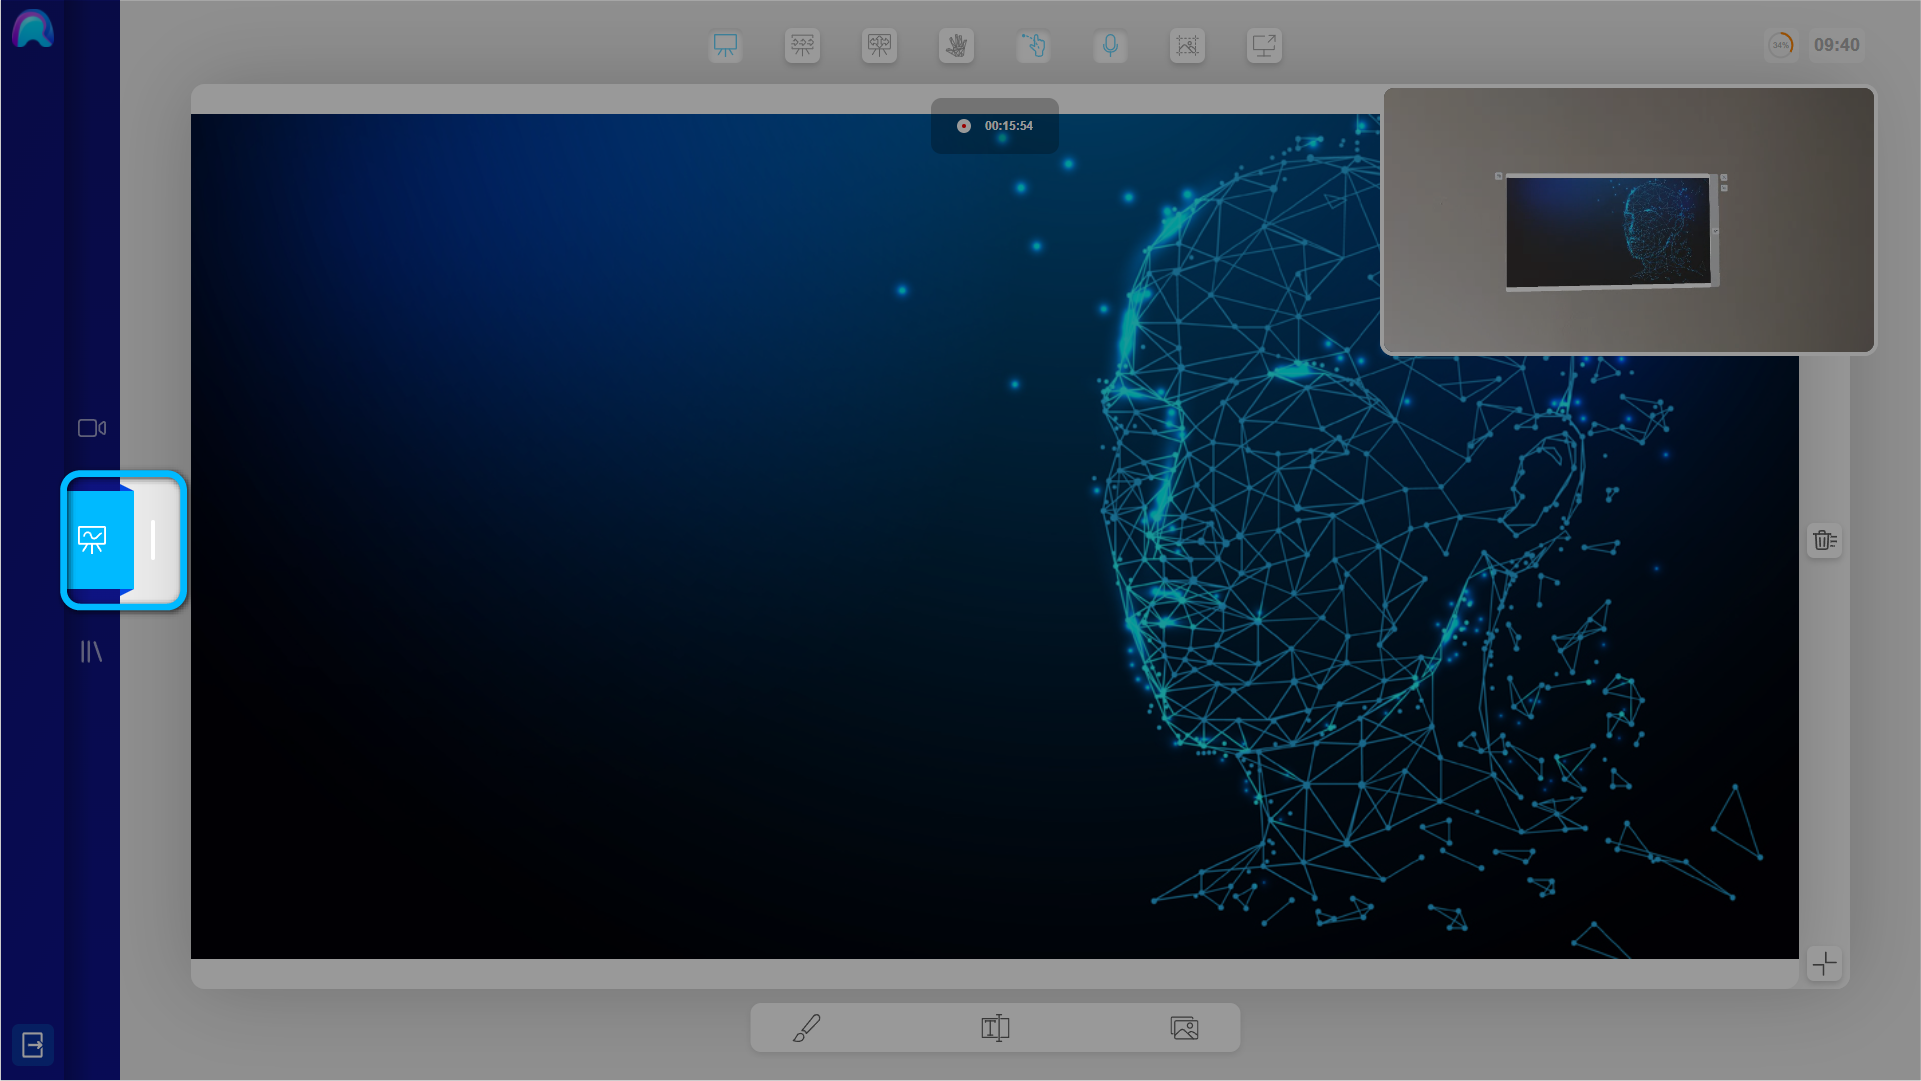
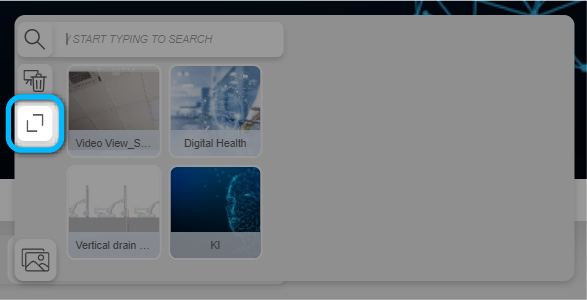
Then click on the Media Library icon at the right in the the central menu bar at the bottom of the screen to open the quick access Media Library.
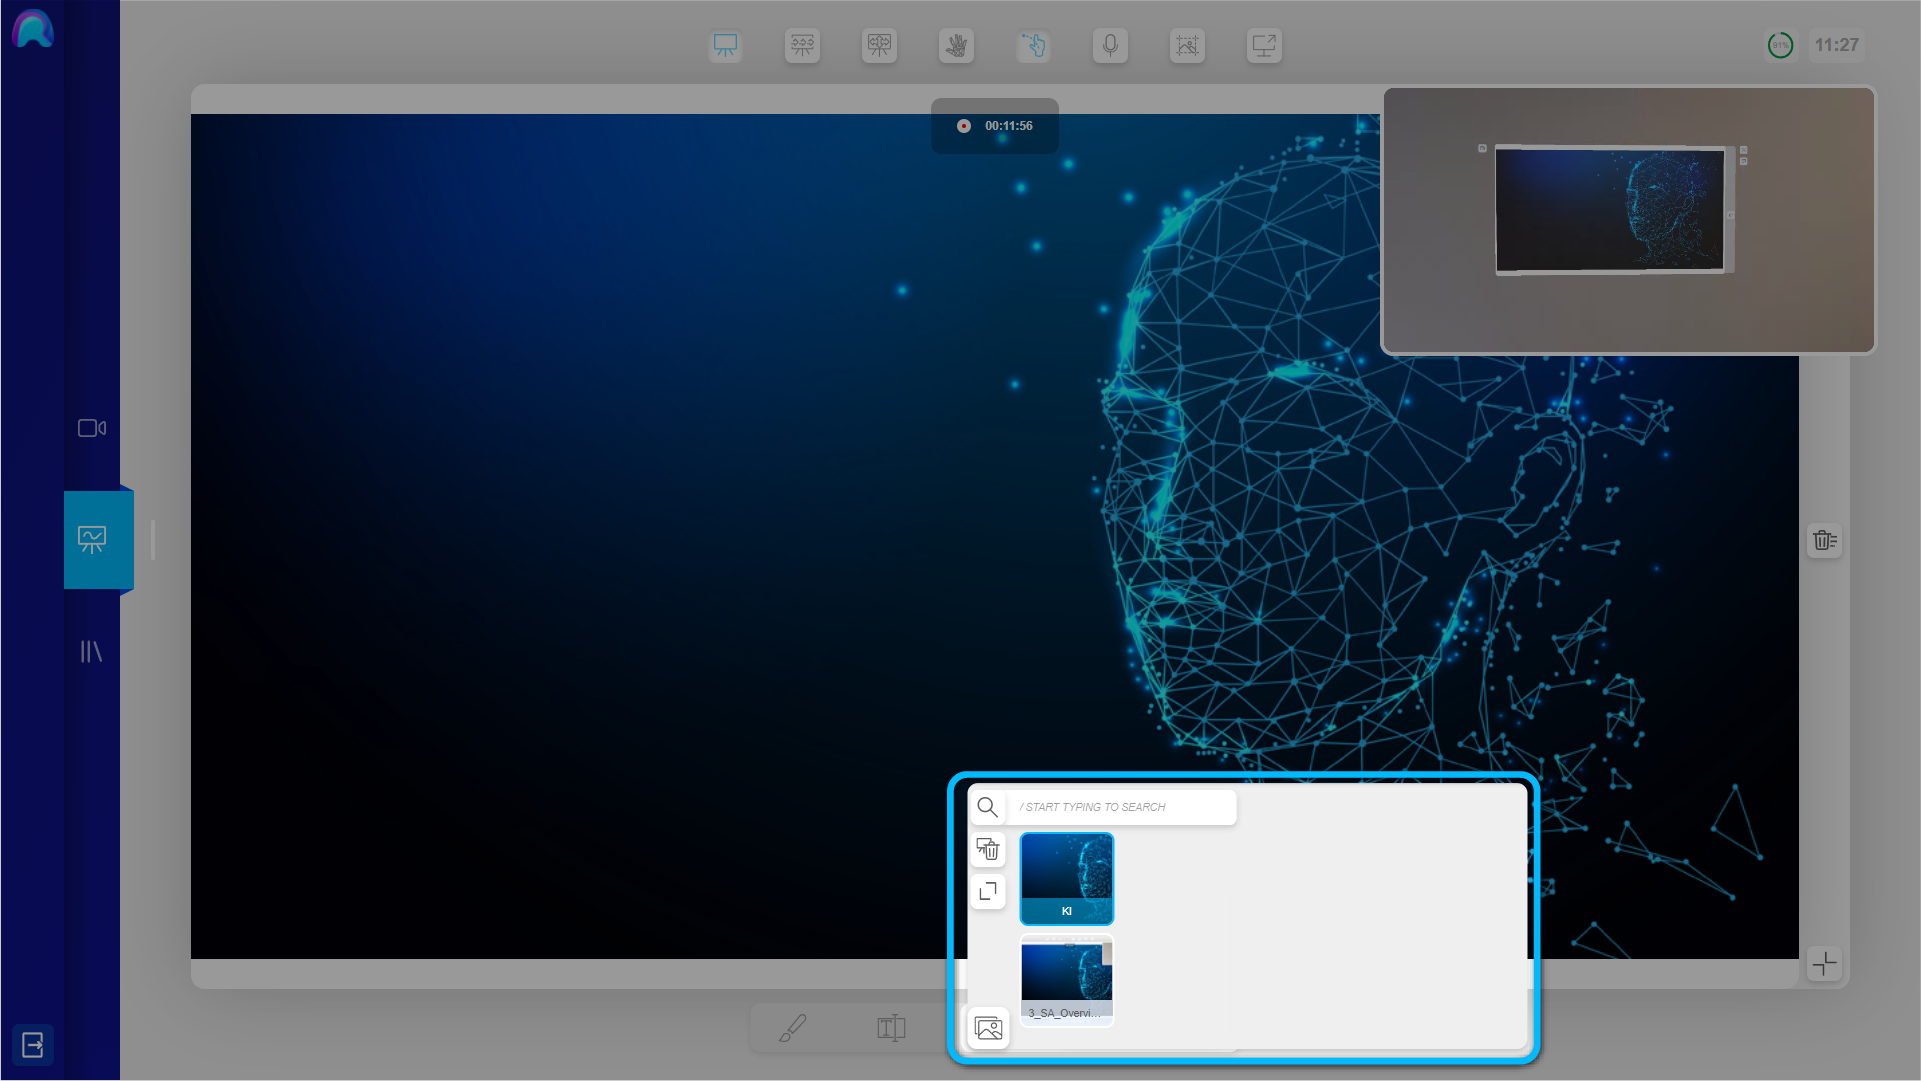
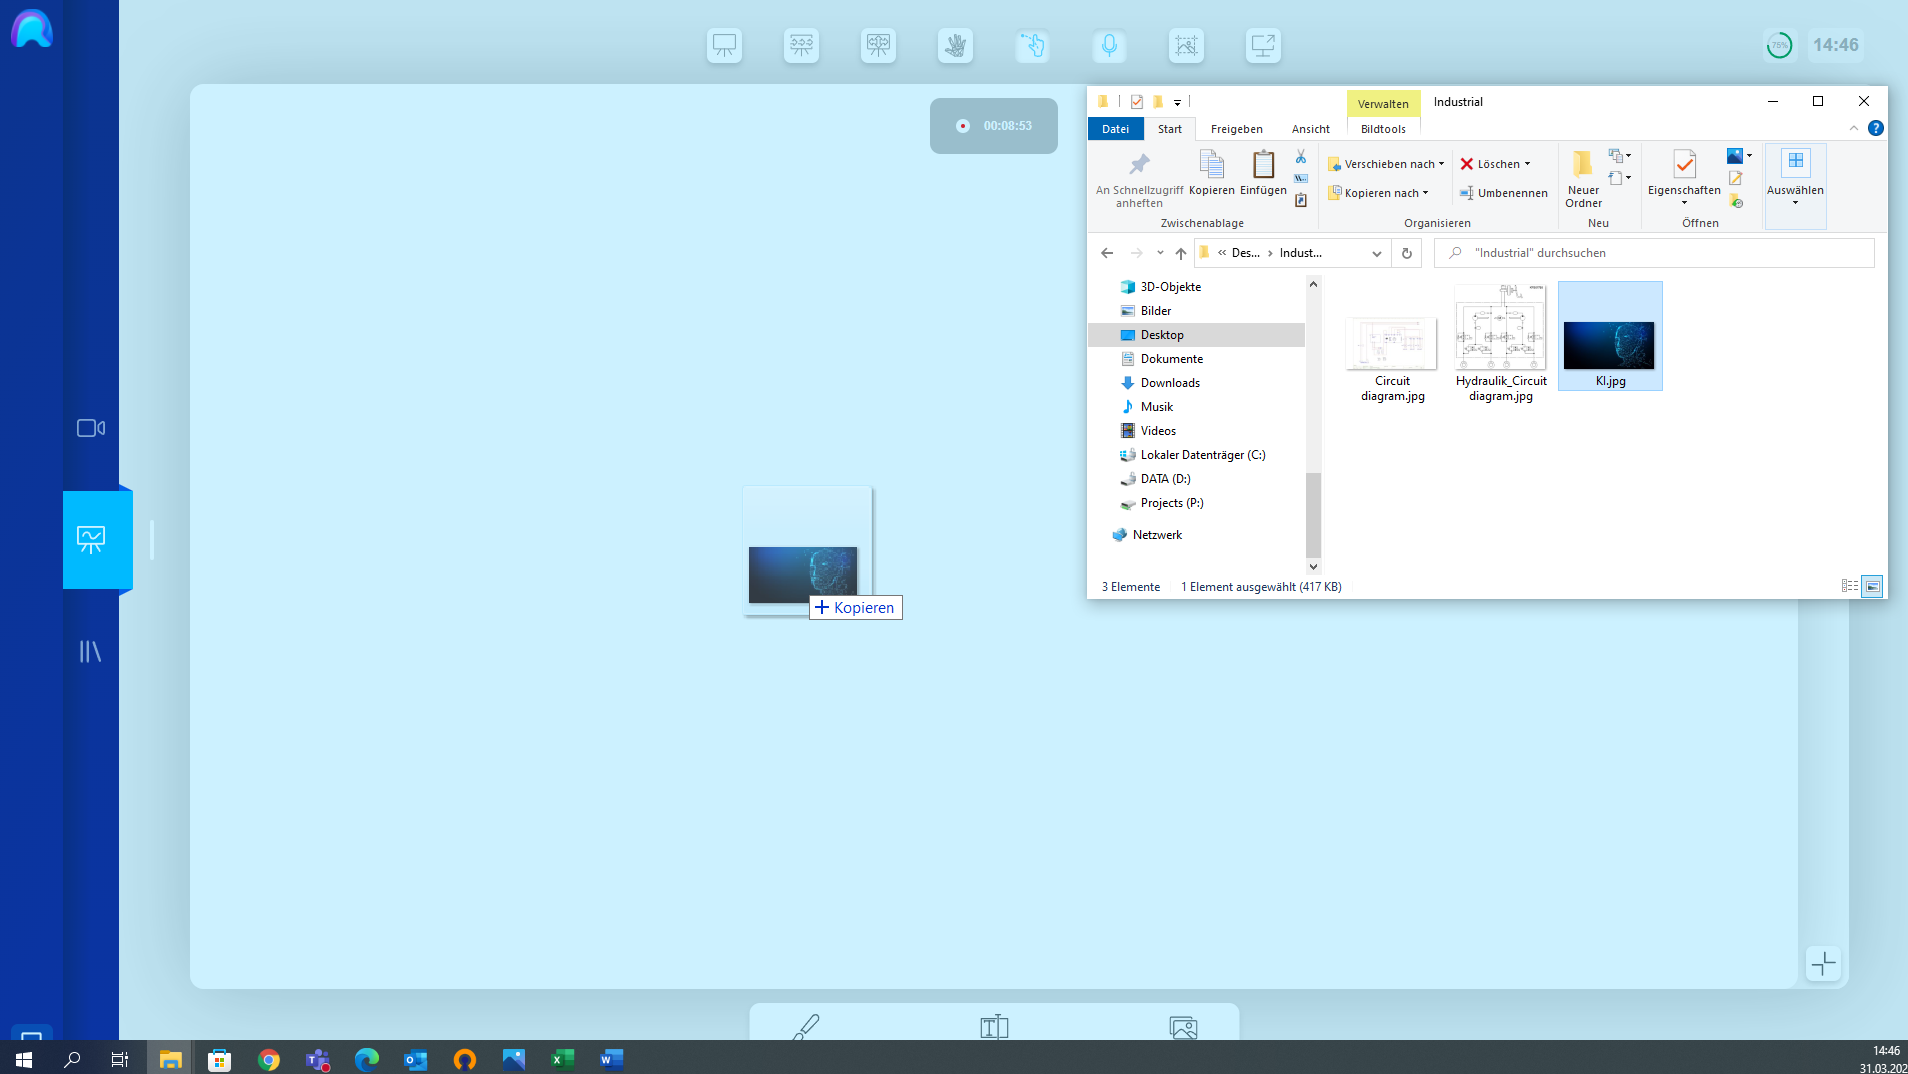
To add a file drag and drop it from your File Explorer into the Whiteboard View. The file will be automatically added to the media quick access in the Whiteboard View and to the Media Library View.
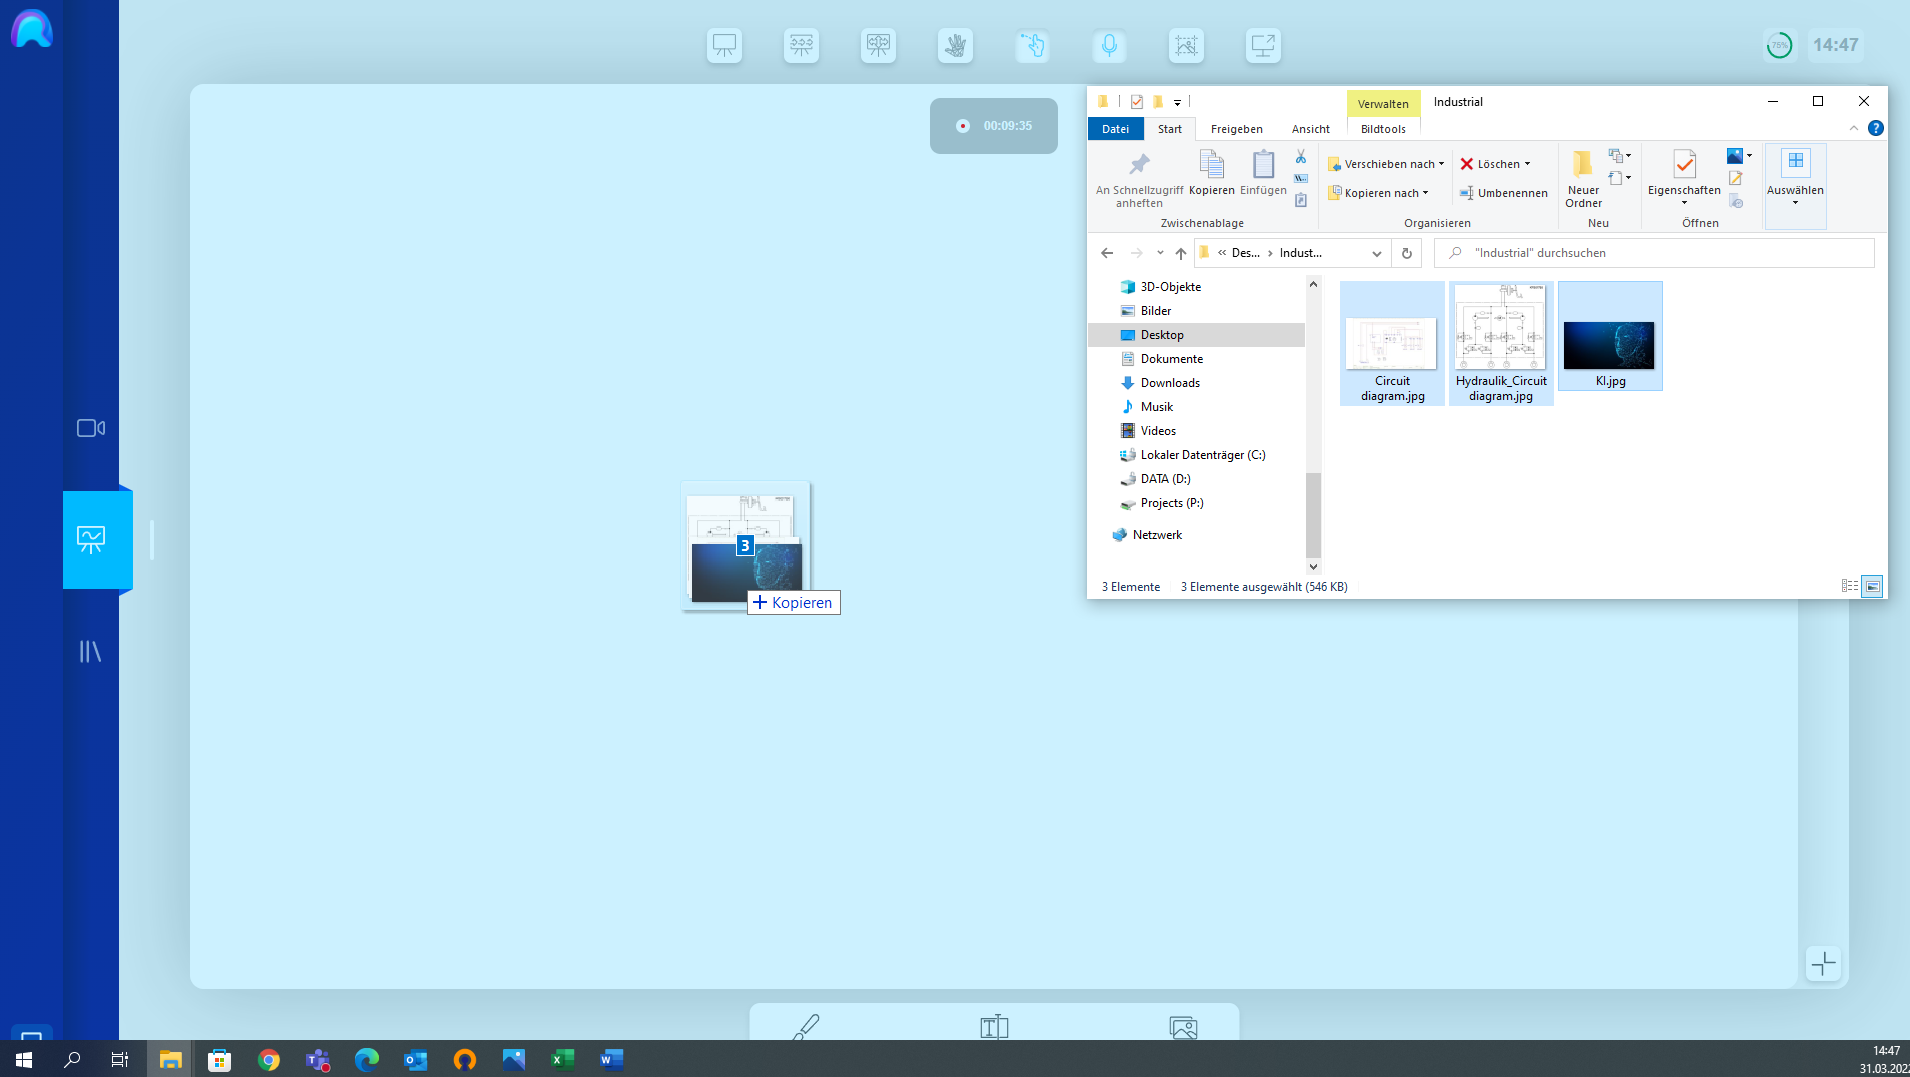
You can also upload several images at once and drag and drop them alltogether from your File Explorer in the Whiteboard View. All files will be added at the same time and sent to the Operator in chronological order.
2) Media Library View:
Open the Media Library View, by clicking on the Media Library icon in the left sided menu bar.
You can also access the Media Library View, by clicking on the "Go to library" button in the quick access view.
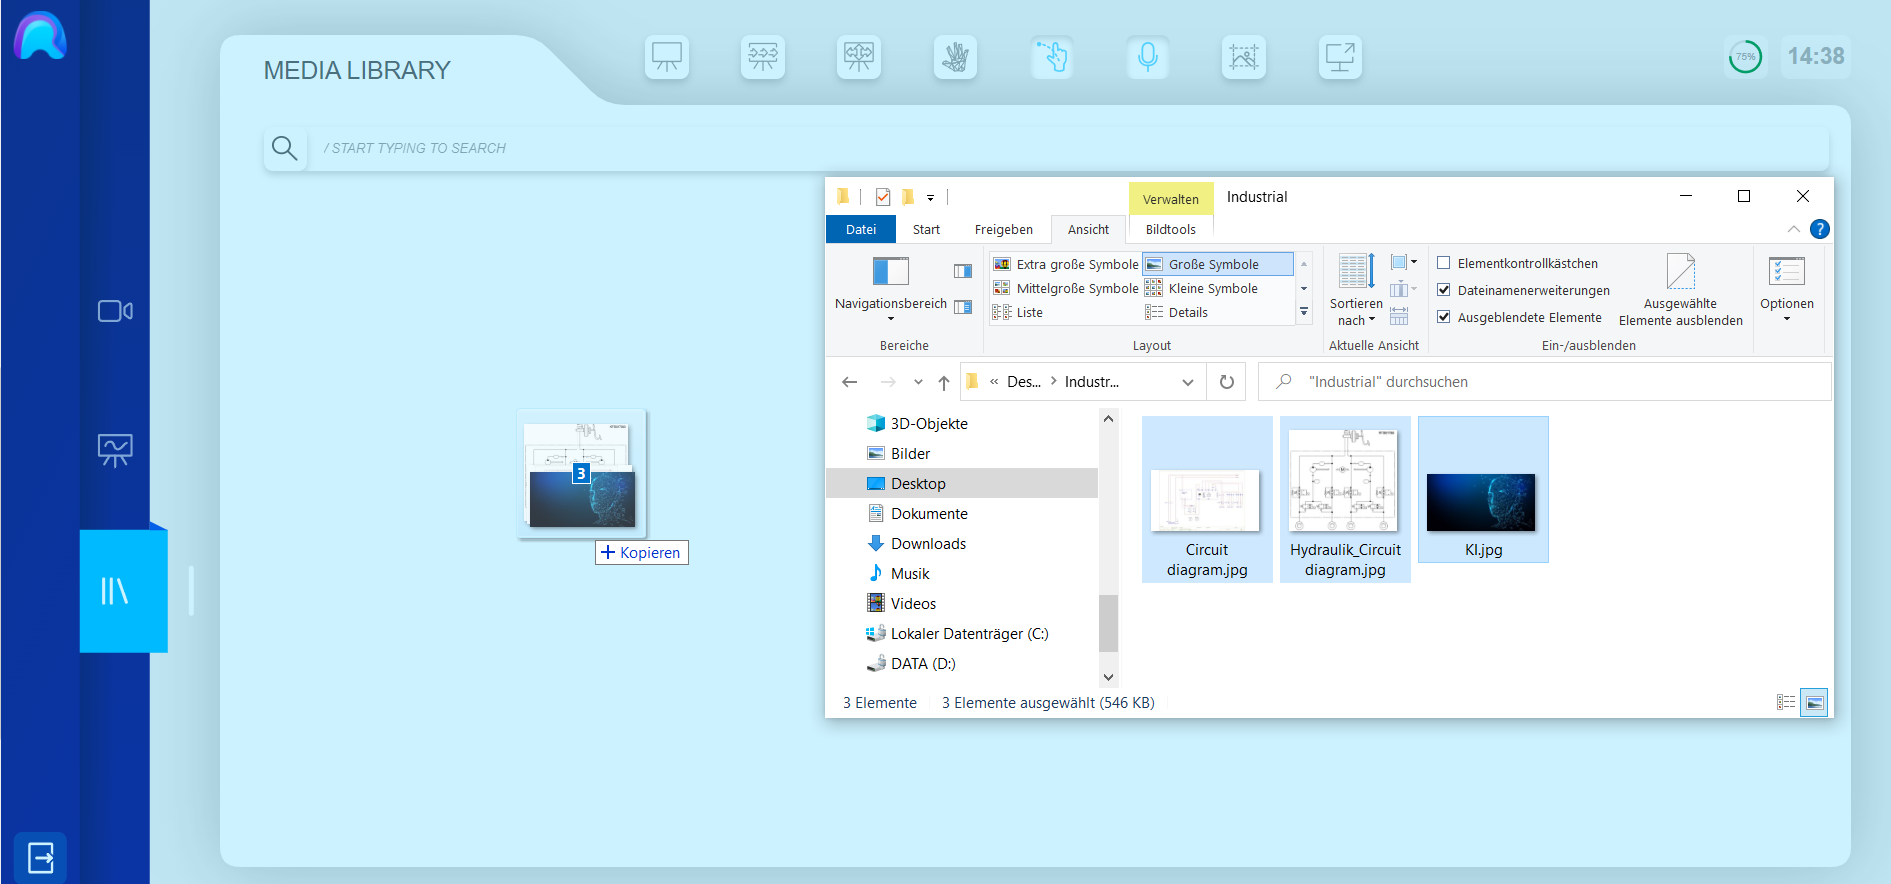
To add a file drag and drop it from your File Explorer into the Media Library View. The file will be automatically added to the Media Library. You can also upload several images at once and drag and drop them alltogether from your File Explorer in the Media Library View. All files will be added at the same time and sent to the Operator in chronological order.
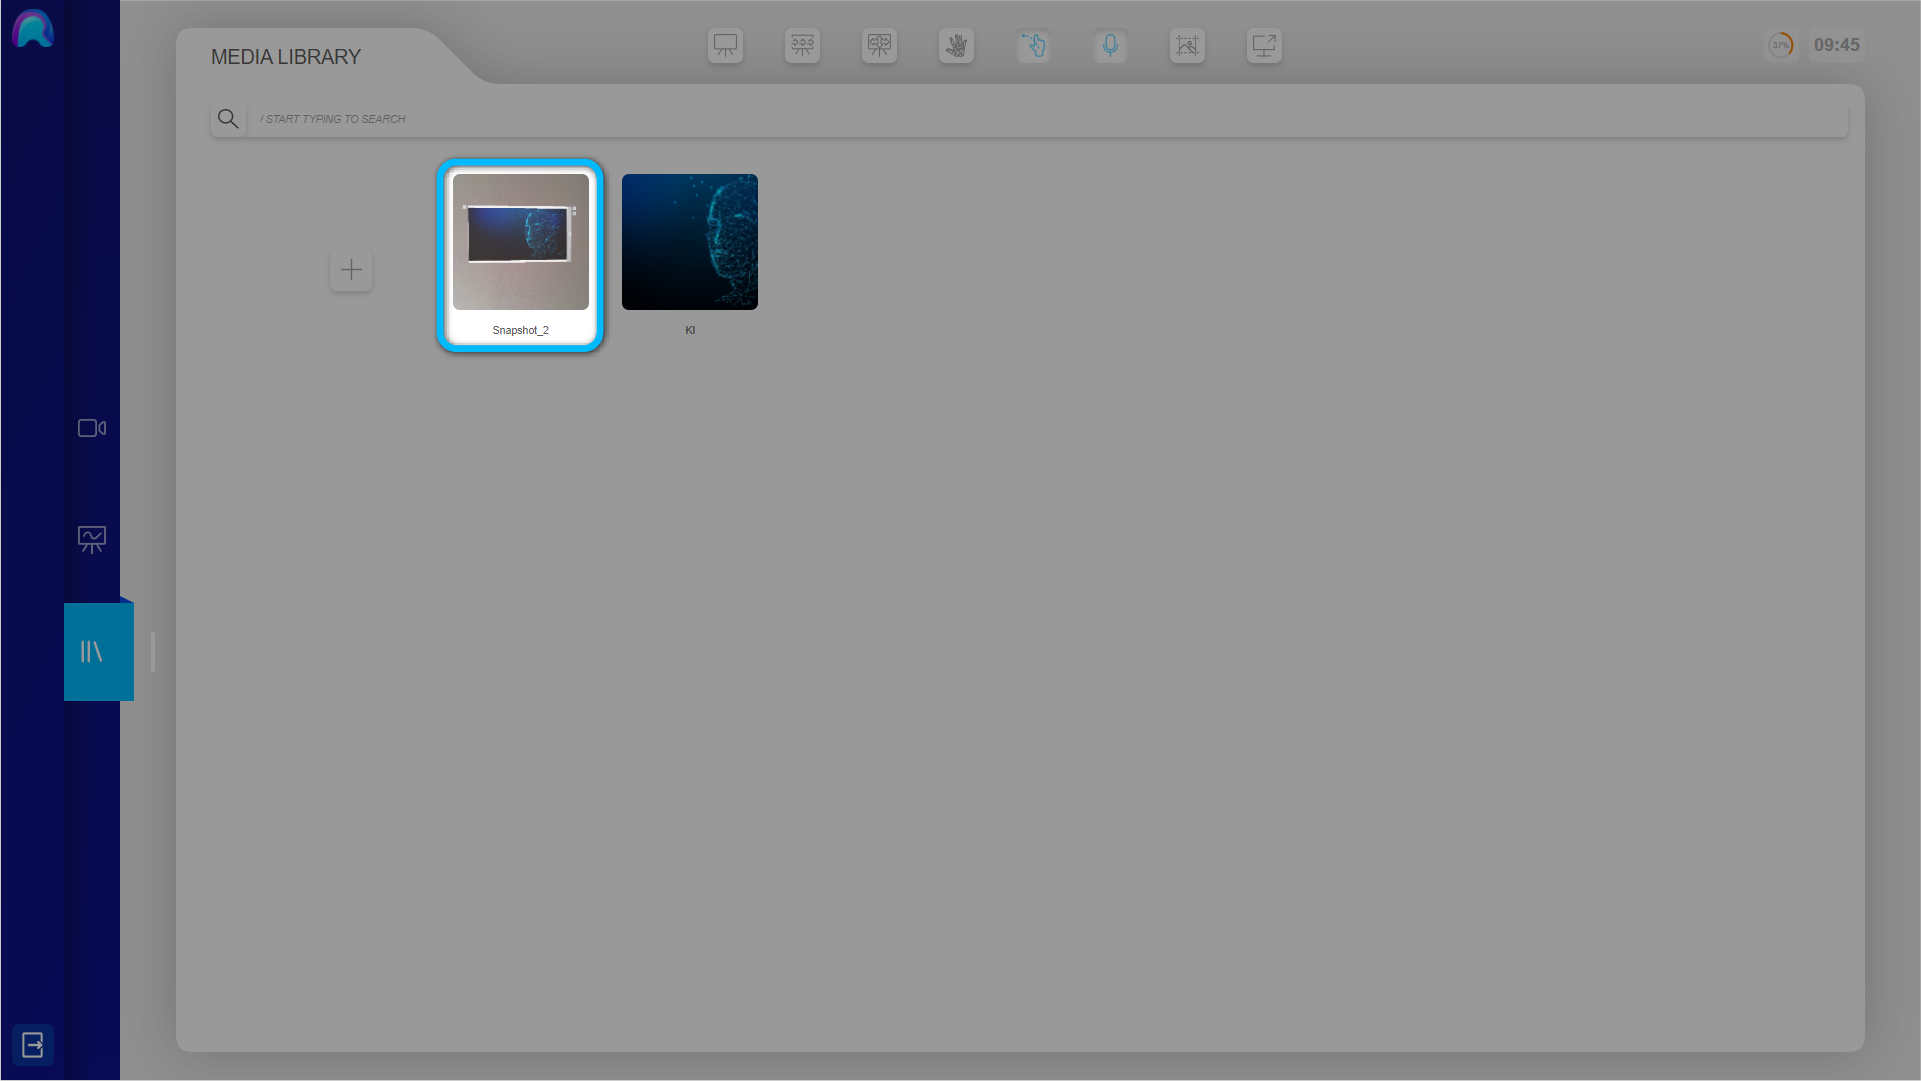
Once the files were added to the Media Library, they will simultaneously apprear in the quick access Media Library in the Whiteboard View and also in the Media Library View.
Take Snapshots
The Spectator can also take Snapshots, which will be automatically added to both Media Libraries (Quick Access in the Whiteboard View and Media Library View).
Taking a Snapshot for the Operator can be very helpful, in case the Operator doesn't have his hands free to trigger a Snapshot. It also helps if you need a high resolution image of the current situation, but the video stream resolution isn't sufficient. Before taking the Snapshot, make sure to obtain consent from the Operator. When you're both ready to take a picture, press the Snapshot Button in the upper Menu Bar.
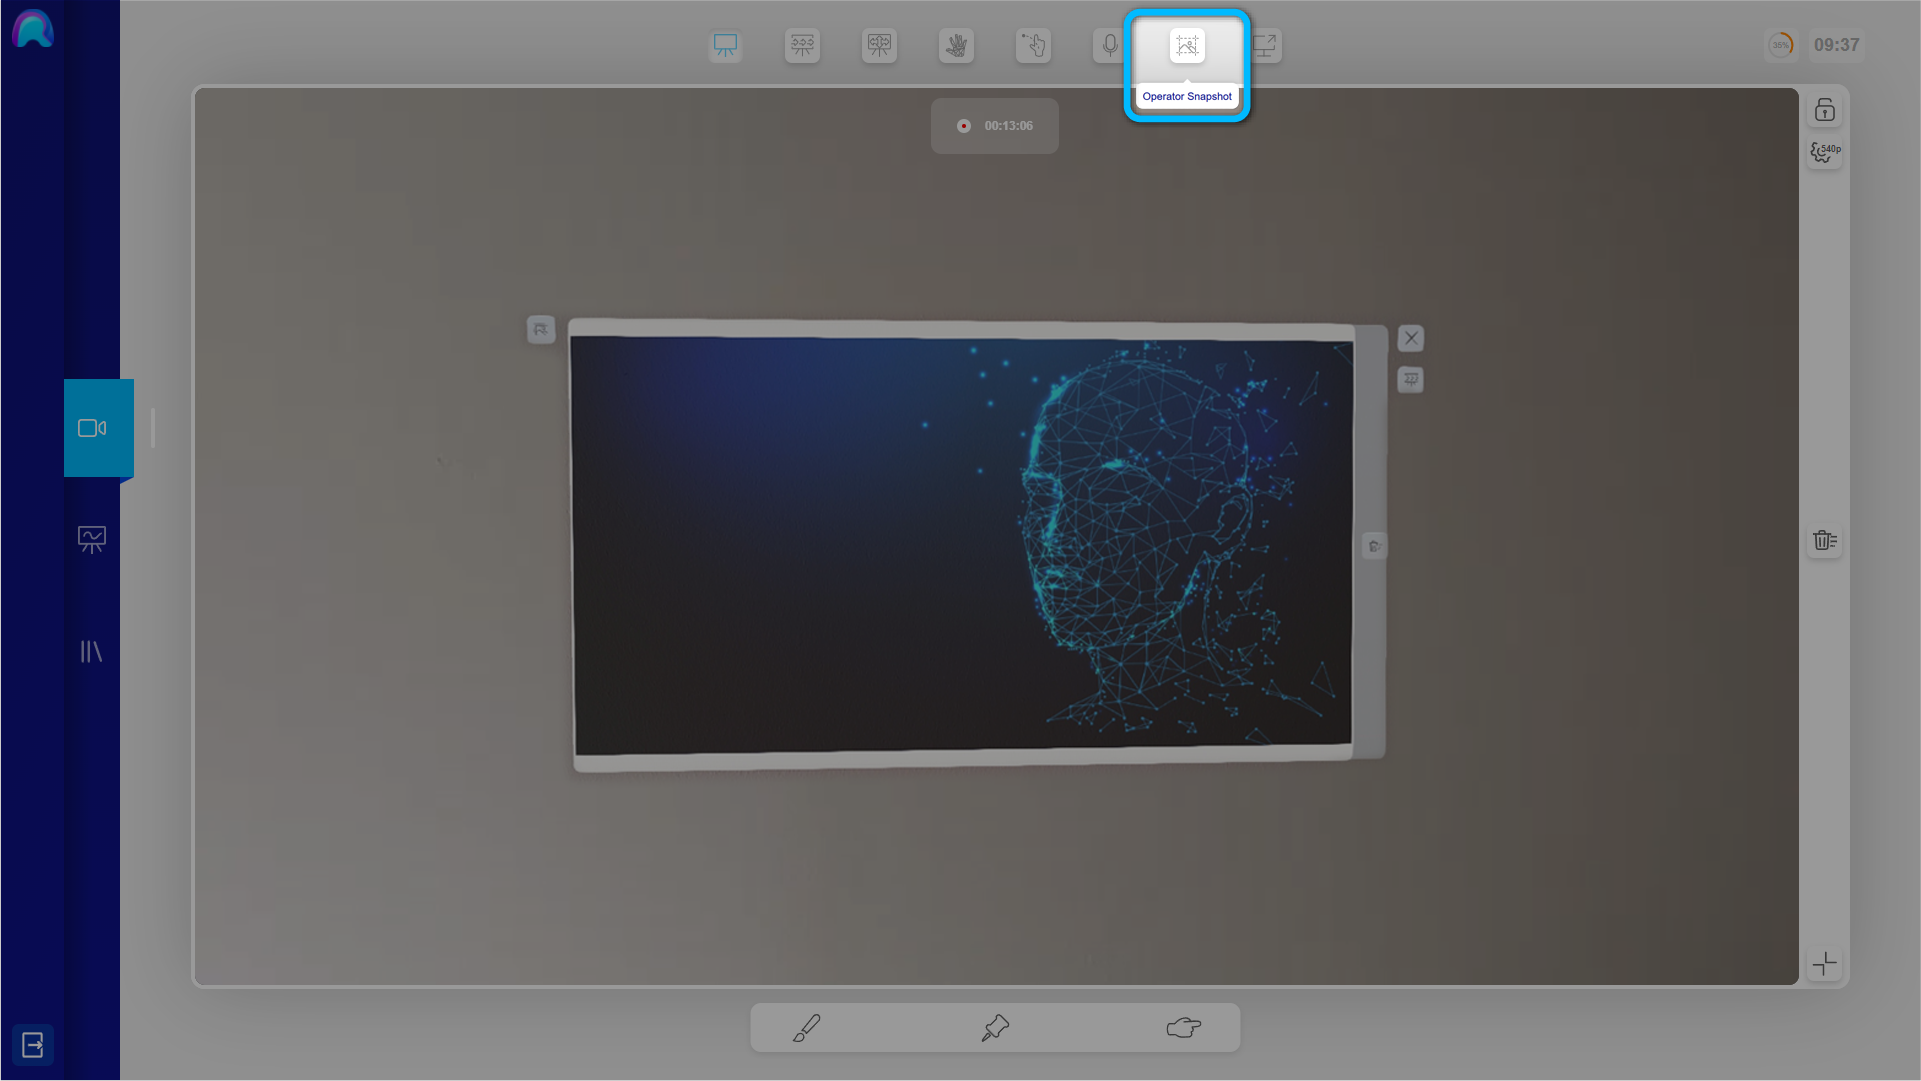
Once pressed, a countdown counting down from 3 to 0 will appear in the Operators HoloLens. This gives the Operator some time to accurately position his field of view on the scene, that you want to photograph. When the countdown has reached 0, the picture will be taken. Triggering the camera might take a few seconds and is visualized through a flashing red camera icon at the corner of the Operators vision. Please advise the Operator to hold still while this process is taking place. Once the confirmation message appeared, the Operator can move around again.
While the Snapshot is taking place, you will see a loading circuit on the Snapshot icon. When the Snapshot is done you will see a checkmark on the Snapshot icon. The Snapshot will be automatically uploaded to the Media Library and a small notification bubble will appear next to the Library Icon in the View Selection Bar.
As on any image or video, you can equally draw and write on it in the Virtual Whiteboard View.
Media library functionalities in the quick access Media Library and in the Media Library View
The following functionalities do all work equally in the quick access Media Library in the Whiteboard View and in the Media Library View.
When the file isn't uploaded completely yet, the icon shows a loading screen.
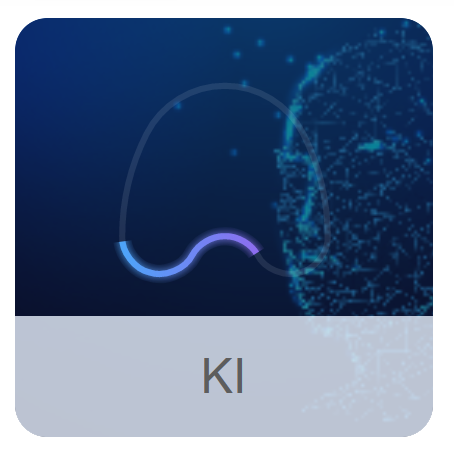
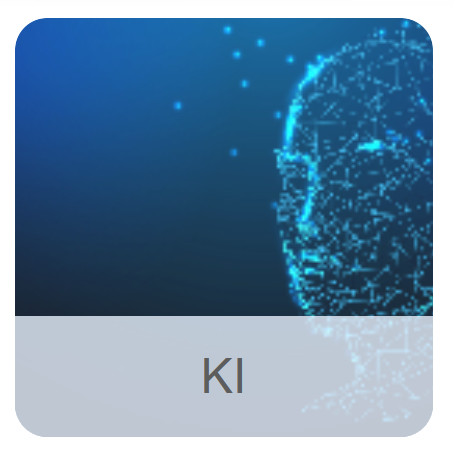
As soon as the file is completely sent to the Operator and ready for use, the loading animation disappears and the item becomes active.
In case an upload is taking too much time and thereby blocks other files, which could be uploaded more quickly, you can cancel the process at any time. Hover over the loading animation and click Delete. The file will be removed from the library.
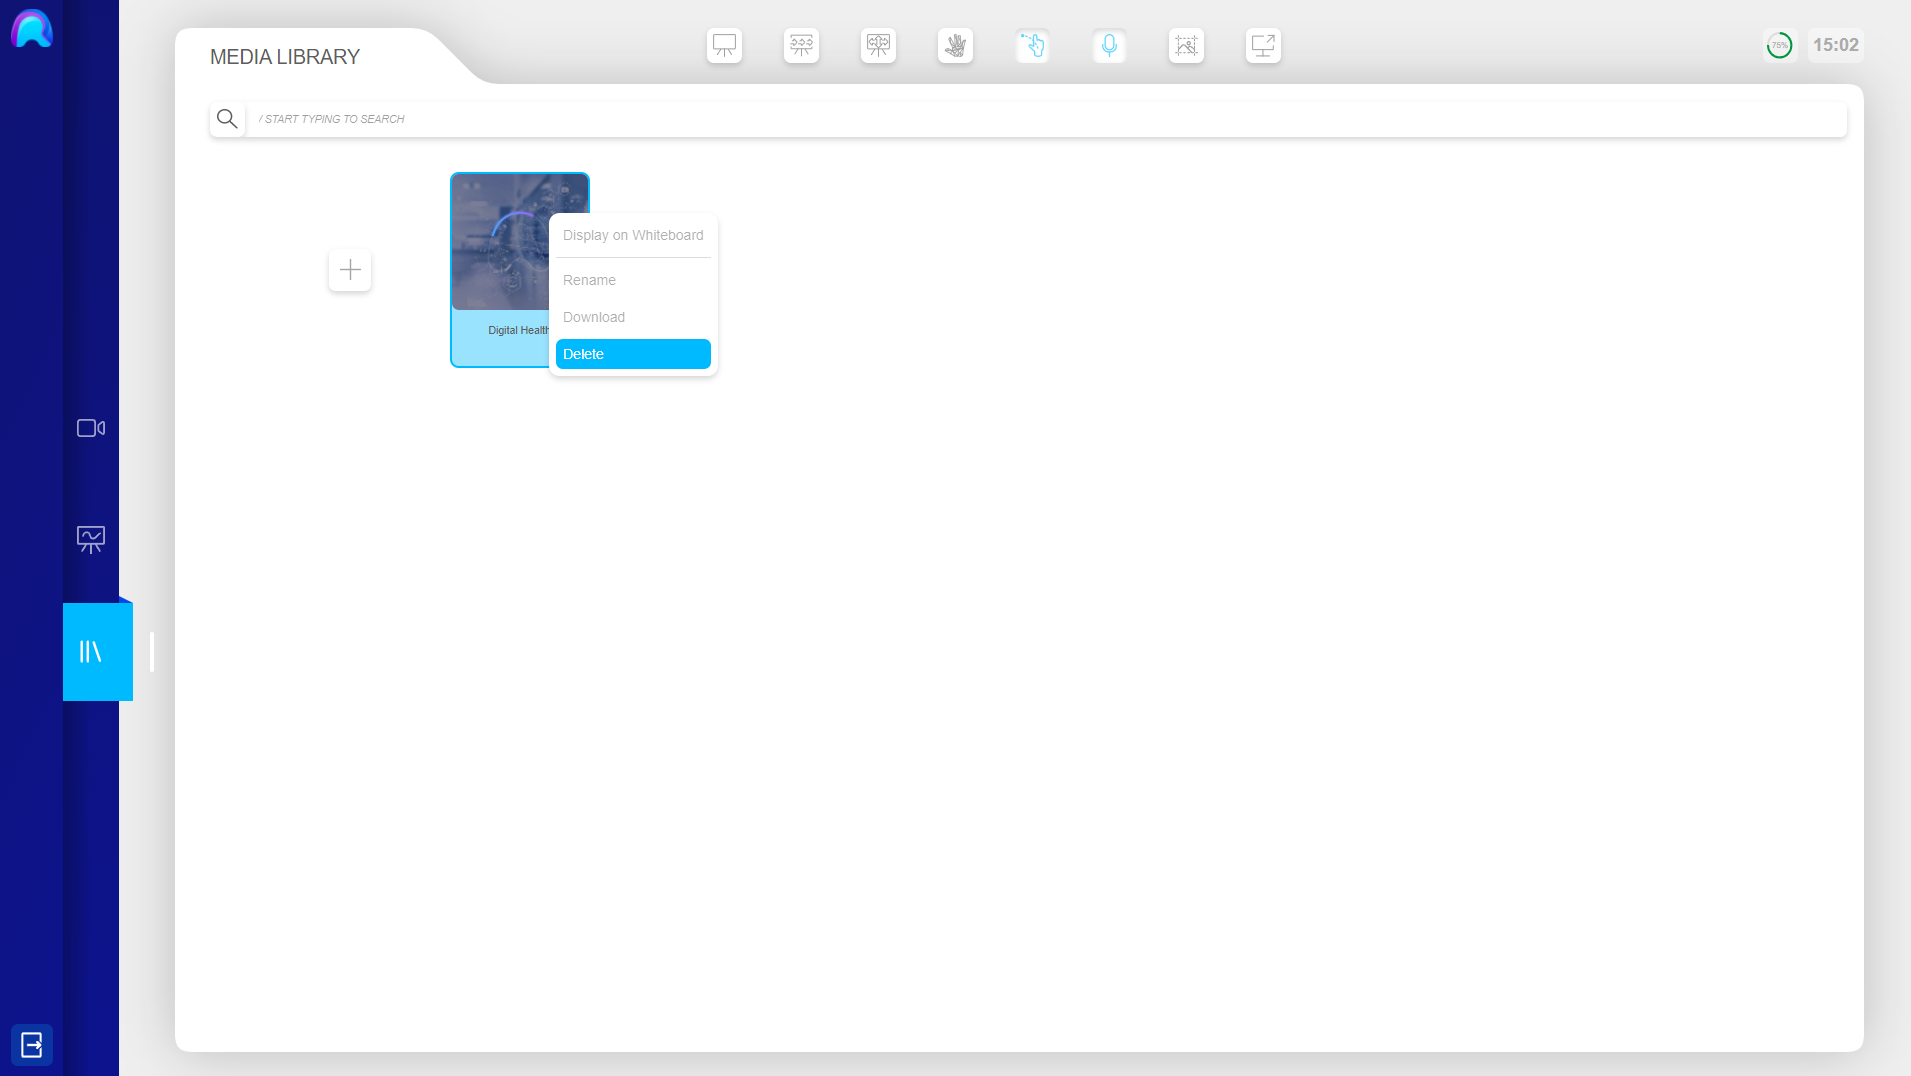
The software then continues uploading the next file in line.
If you can’t see your newly added file, you might need to scroll down in the quick access Media Library’s by using your scroll wheel or dragging down the scrollbar at the right side of the quick access Media Library.
Supported File Formats
We strive to give you the greates range of freedom when it comes to using remAid. We are constantly adding new supported file formats to the App. Currently, the remAid Media Library supports images in JPG or PNG format and videos in MP4 format. If you require any specific file formats, please get in touch with us through our contact form and let us know.
Editing and Deleting a File
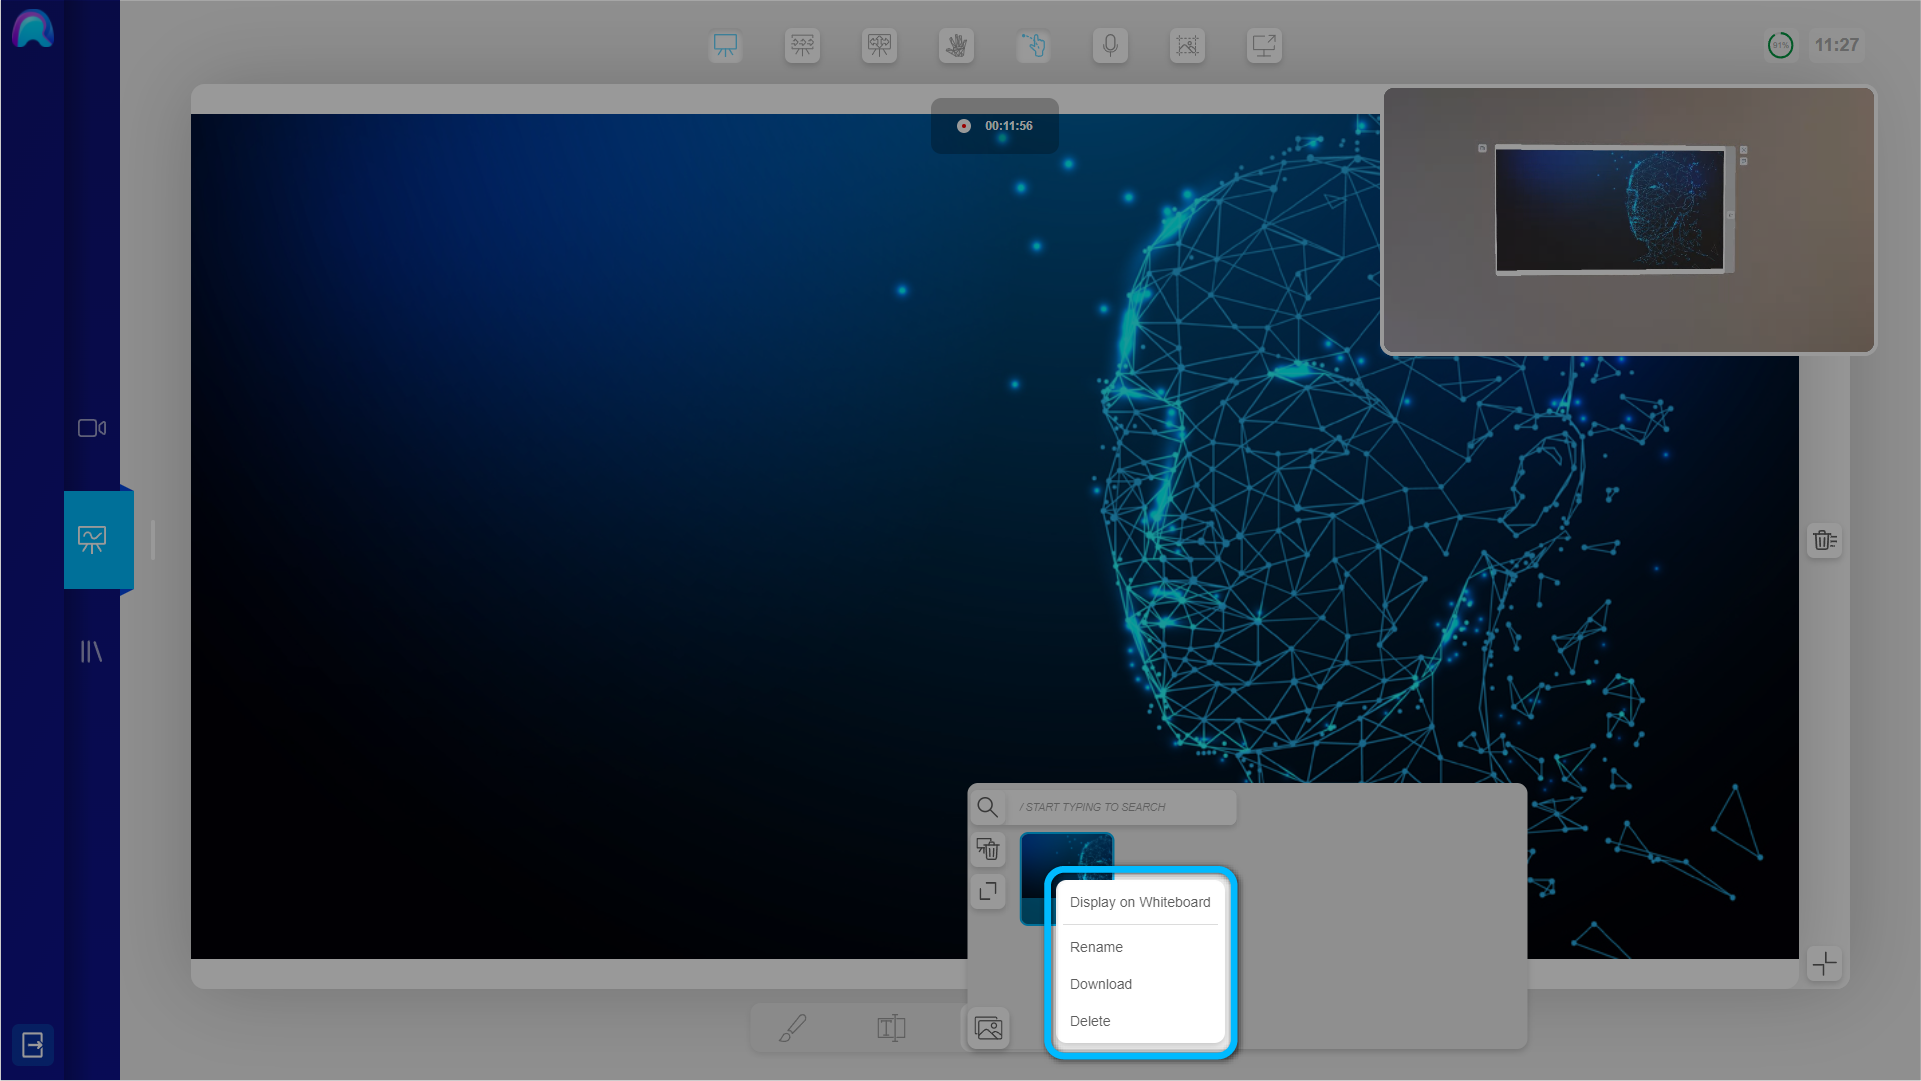
To stay organised you might want to change a file’s display title or even remove it from the Media Library entirely. You can do so by clicking with the right mouse button on the media item. This opens the Media Item Panel, via which you can rename, download or delete a media item.
It looks like this in the quick access Media Library in the Whiteboard View:
That's how it looks in the Media Library View:
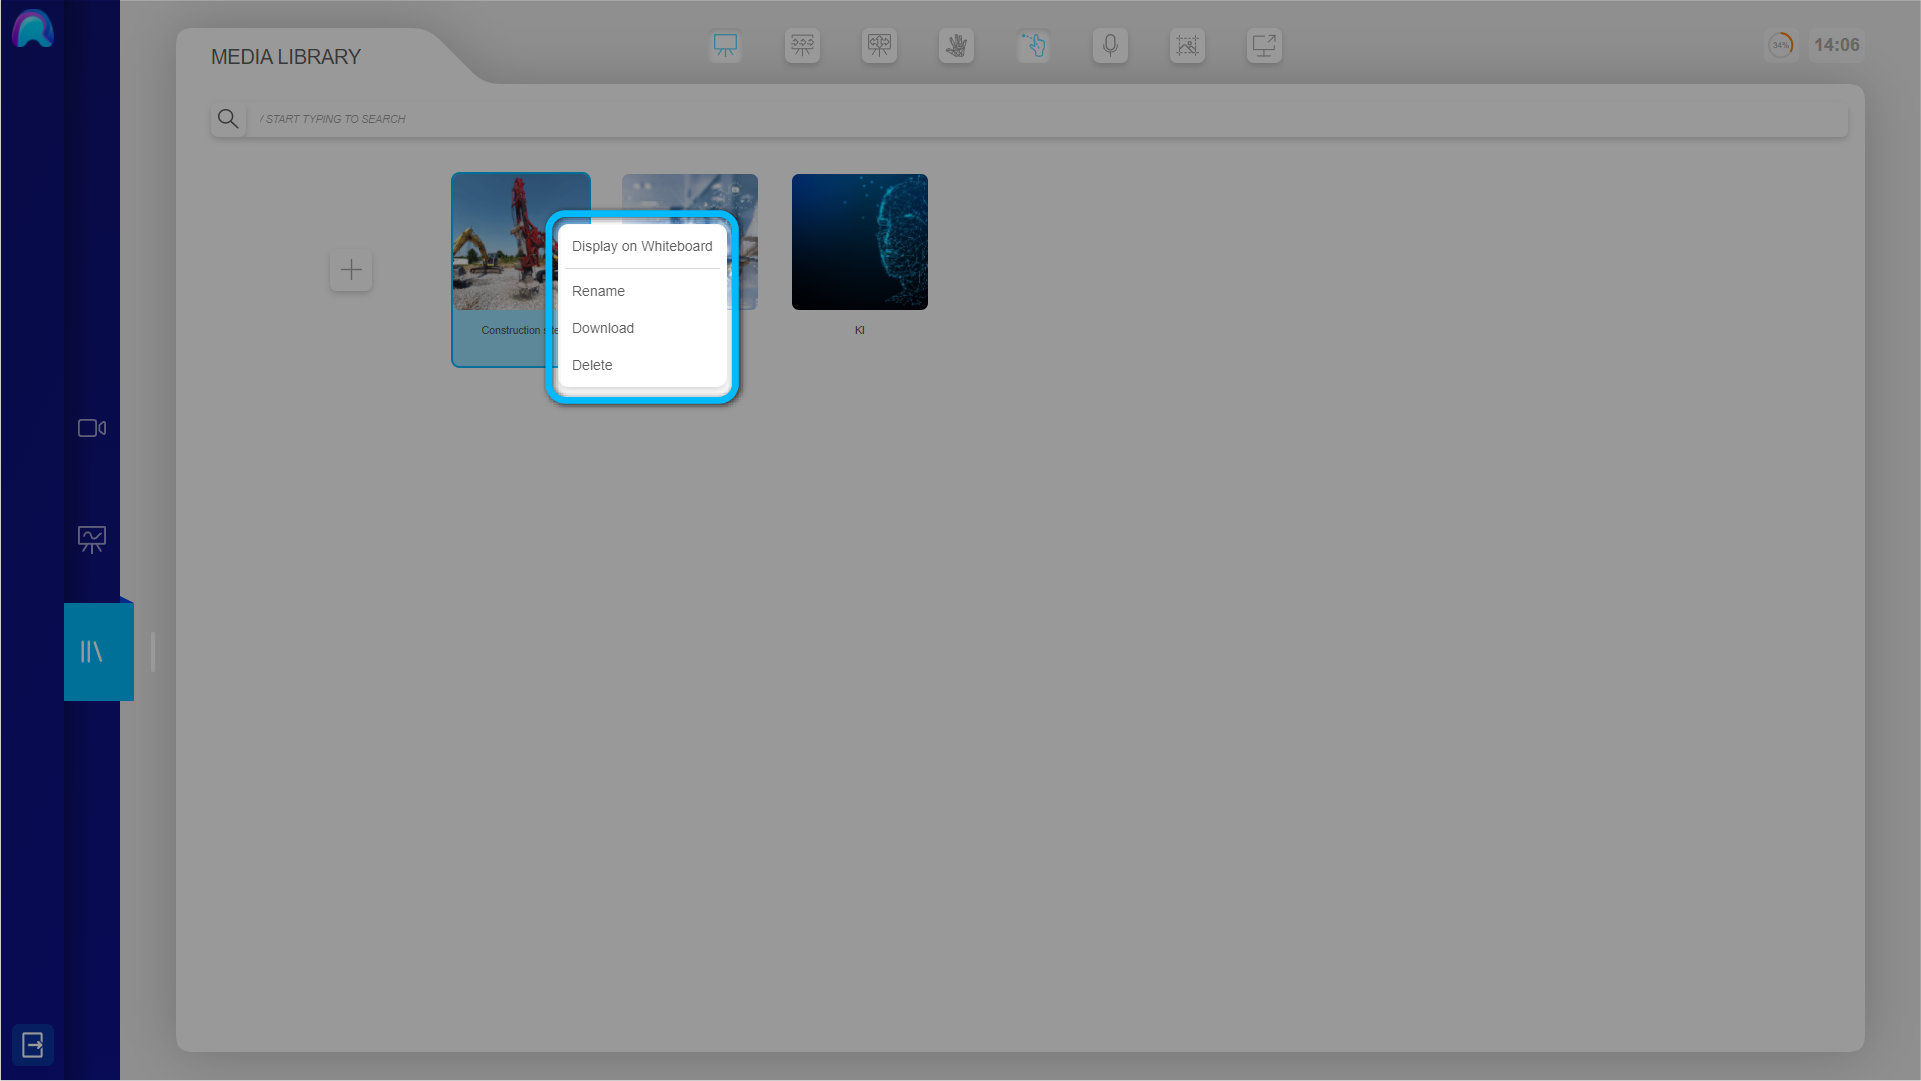
Search for media items
You can search for a specificly named media item, by typing the name in the empty field next to the 'search' icon.
Display media on the Virtual Whiteboad
You can display a media item on the Whiteboard by double clicking on it with the left mouse button.
Or by clicking on it with the right mouse button. Then press 'Display on Whiteboard'.
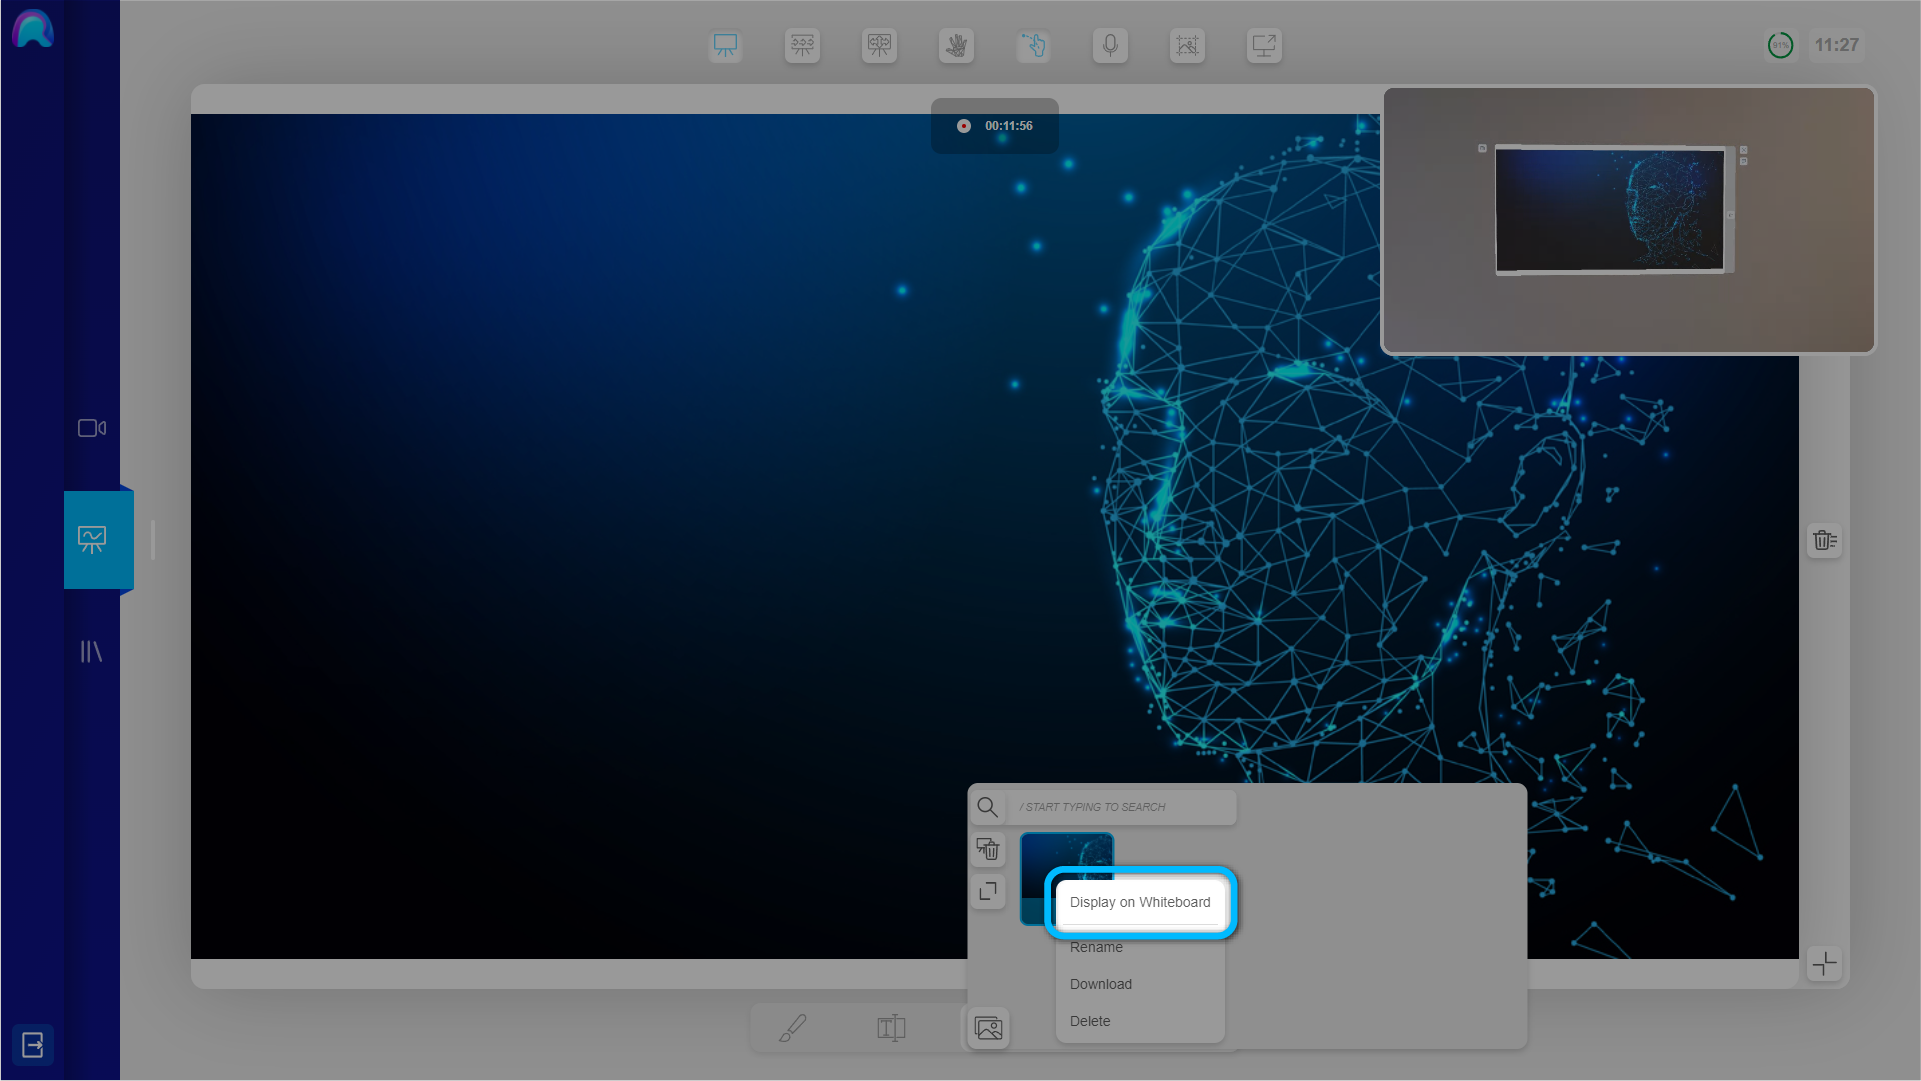
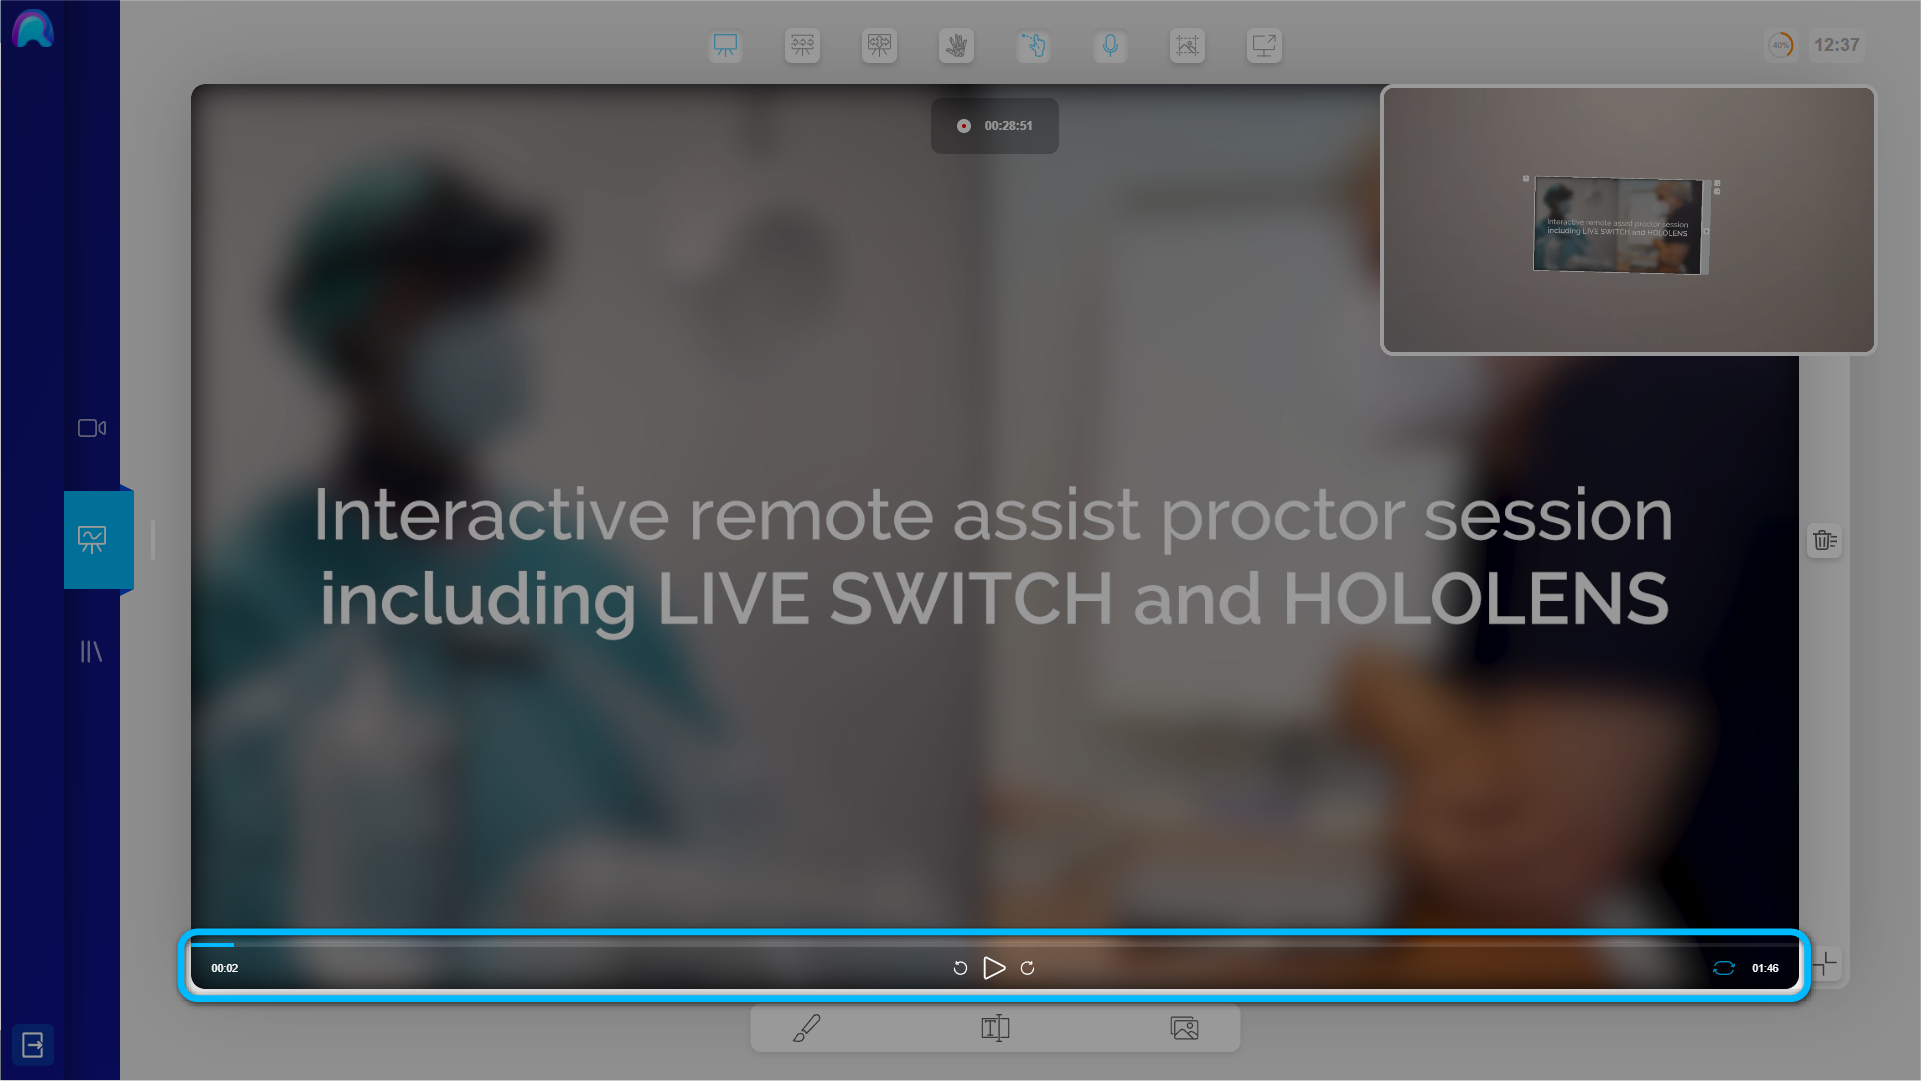
If you choose a video, it automatically starts playing from the beginning. Additionally, a small Control Panel appears at the bottom of the video, which allows you to control the video according to your needs.
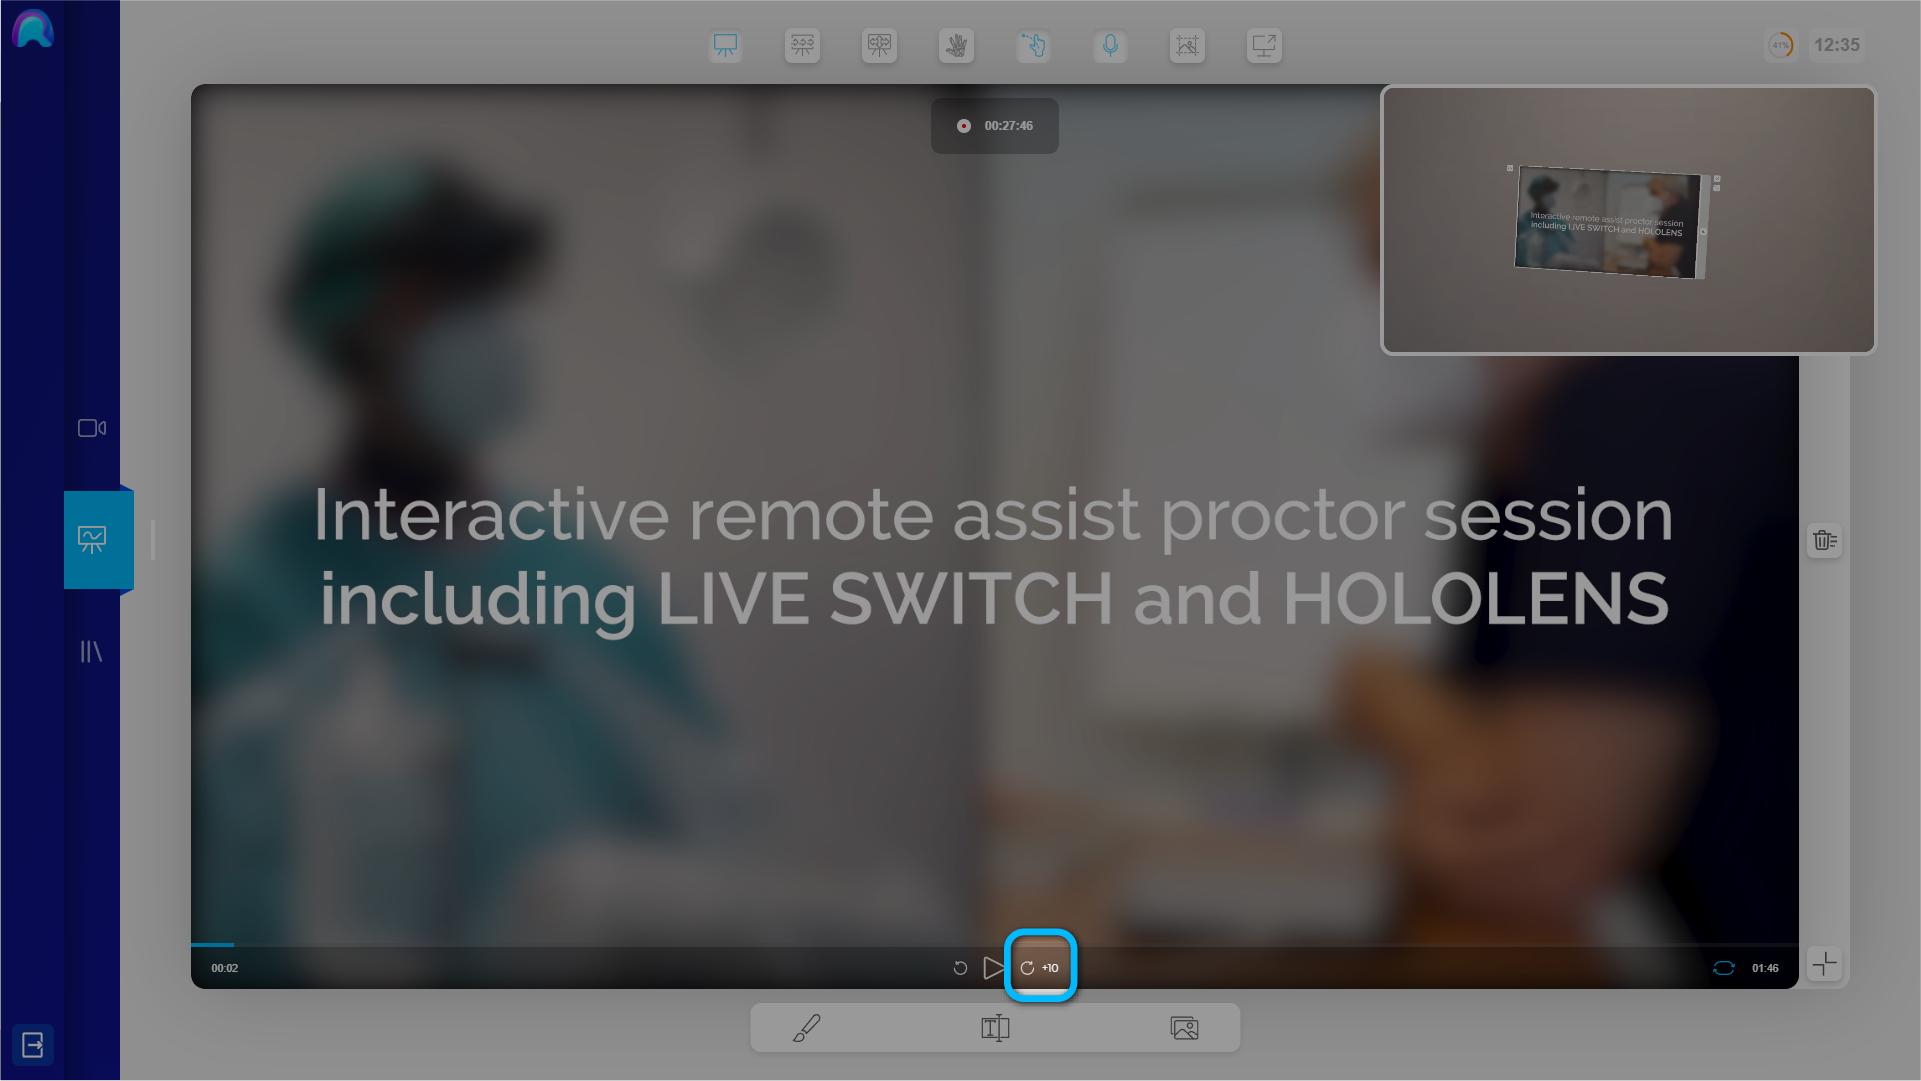
The buttons on both sides of the play button are used to skip 10 seconds forward/backwards.
Through the Loop Button in the Video Control Panel you can decide whether the video should play in a loop or stop after it’s finished.
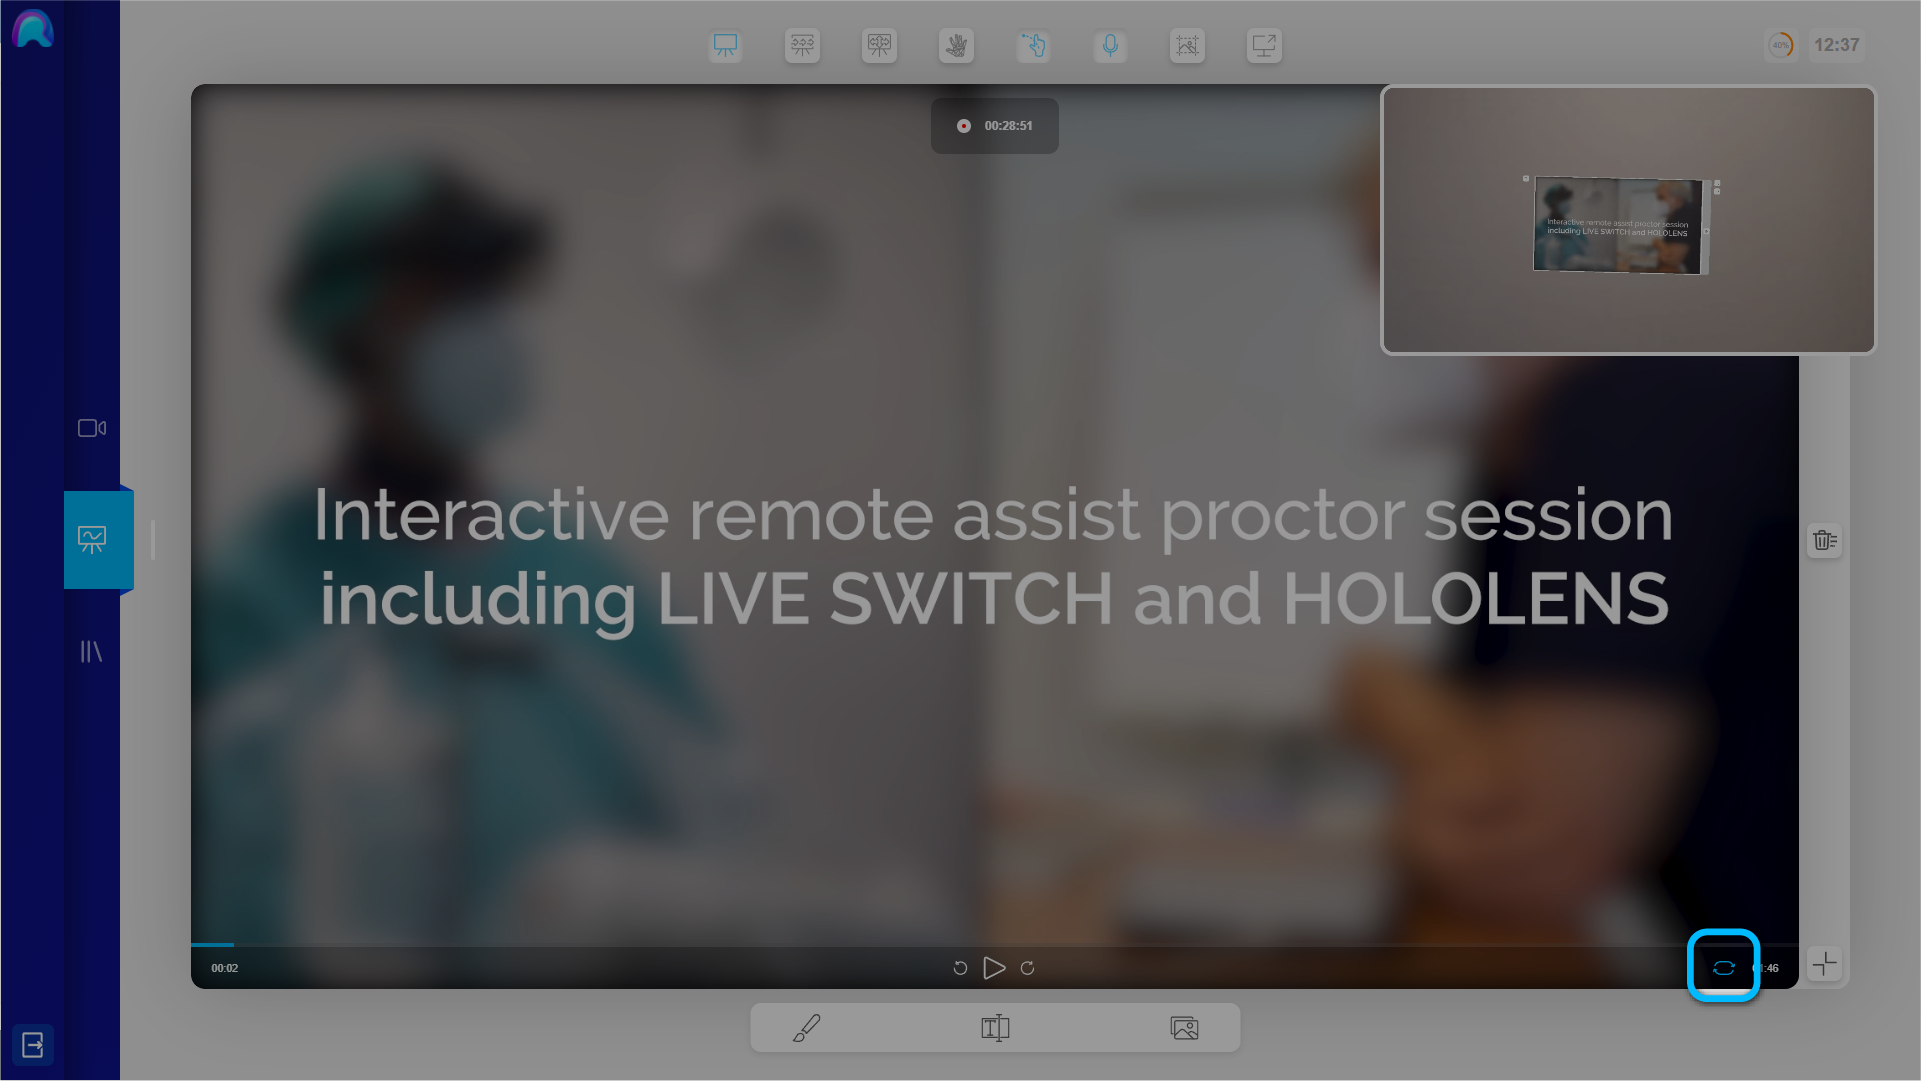
The small timeline at the top of the panel indicates the current playback time and the total duration of the video. Click directly into this timeline to jump to a specific moment in the video. The rest of the buttons can be used just like on any other media player. Pause/Resume the video by pressing the Play/Pause Button.
Clearing Media from the Whiteboard
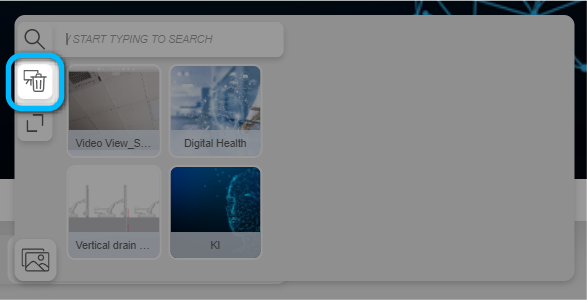
Once you are done and do not want to share the image or video on the Whiteboard anymore, press the "Remove Media from Whiteboard" Button at the left side of the quick access Media Library in the Whiteboard View. This will remove the currently displayed media element and returns the Whiteboard to its original white state, without deleting any drawings or text.
What is Screensharing?
remAids Screensharing feature allows you to share any screen or application on the Virtual Whiteboard with the Operator. This can be useful if you want to share long videos or show content from other applications like 3D Software or a PDF Viewer. Via Screensharing the Operator can see in real-time exactly what you see on your desktop screen.
The image quality is good enough to read small text. Nevertheless there is some compression, which makes extremely small details less visible. In case a very high resolution is required, it is recommended to share your foto or video via the media library. You can also include the system audio, so that the Operator can hear the audio of your laptop or PC.
Using the Screensharing
To start sharing the screen press the ‘Screenshare’ button in the top Menu Bar.
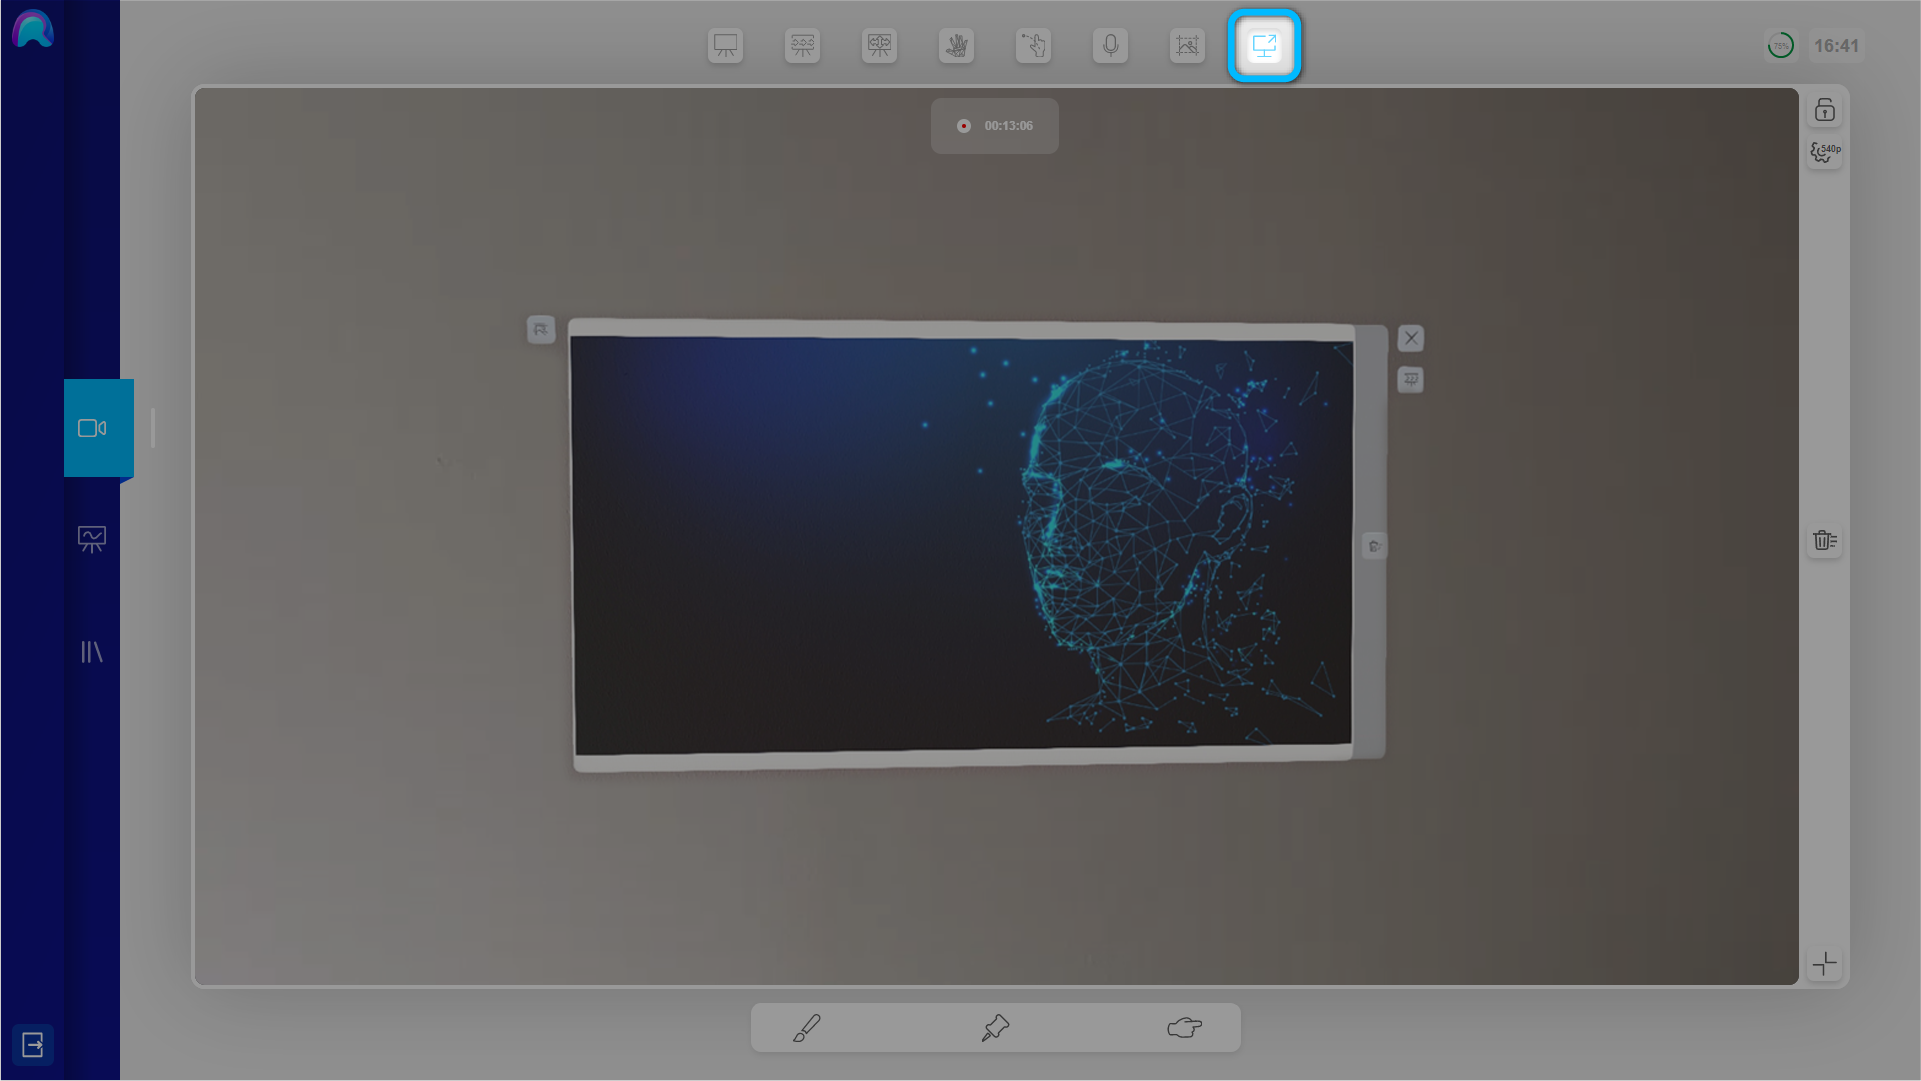
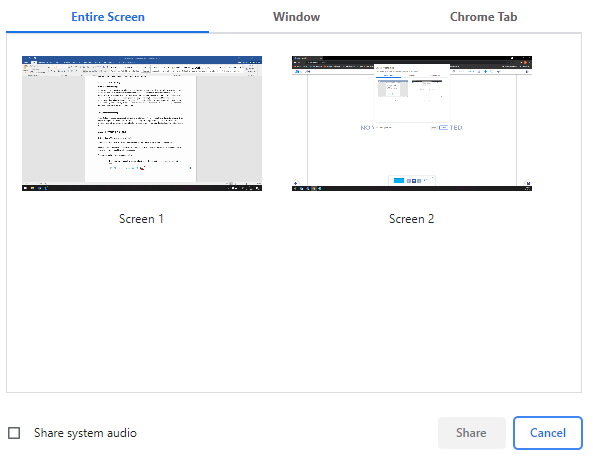
After clicking it you will be prompted by the browser to select the window, browser-tab or application, that you want to share.
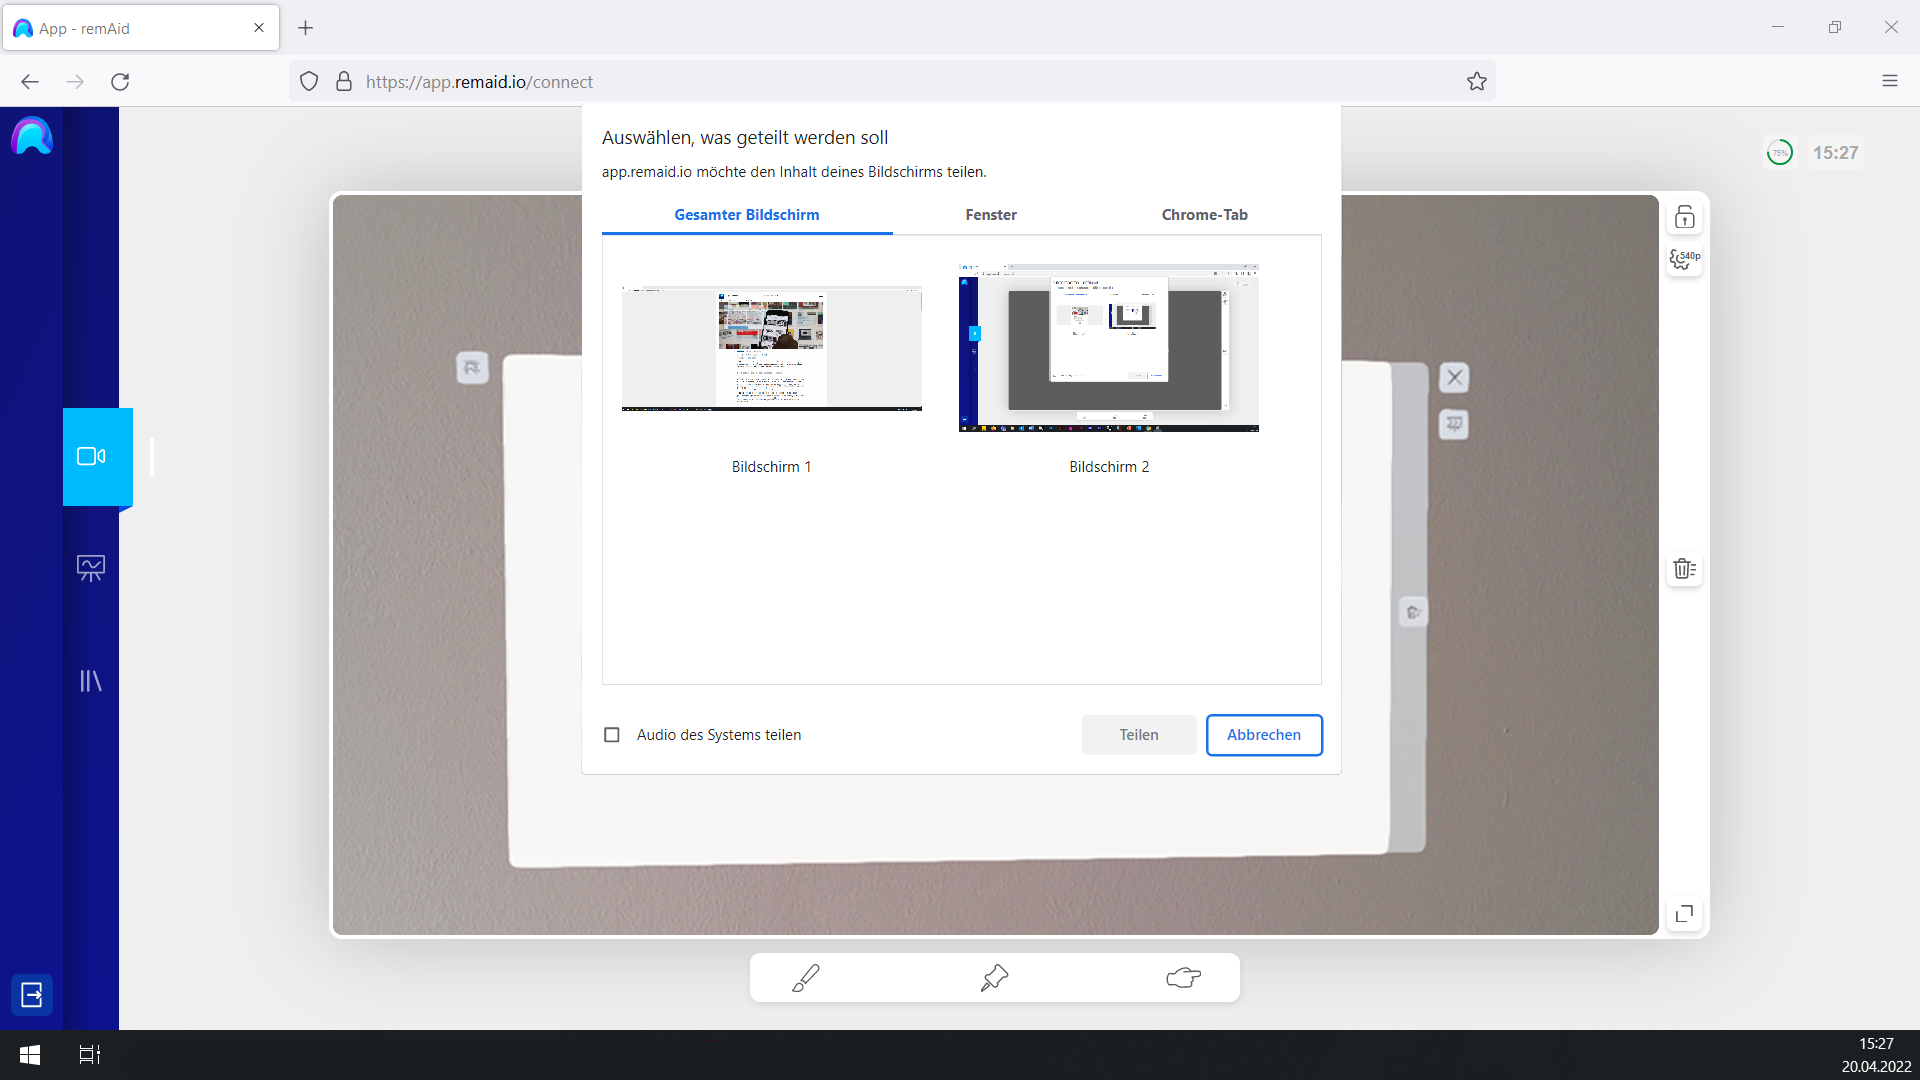
Most browsers also give you the opportunity to decide, whether you would like to share the system audio as well.
For example the selection panel in Google Chrome:
When you have selected the content you want to share, the video & audio stream will be livestreamed to the Operator and displayed on the Virtual Whiteboard. All tools in the Whiteboard View can be used as usual.
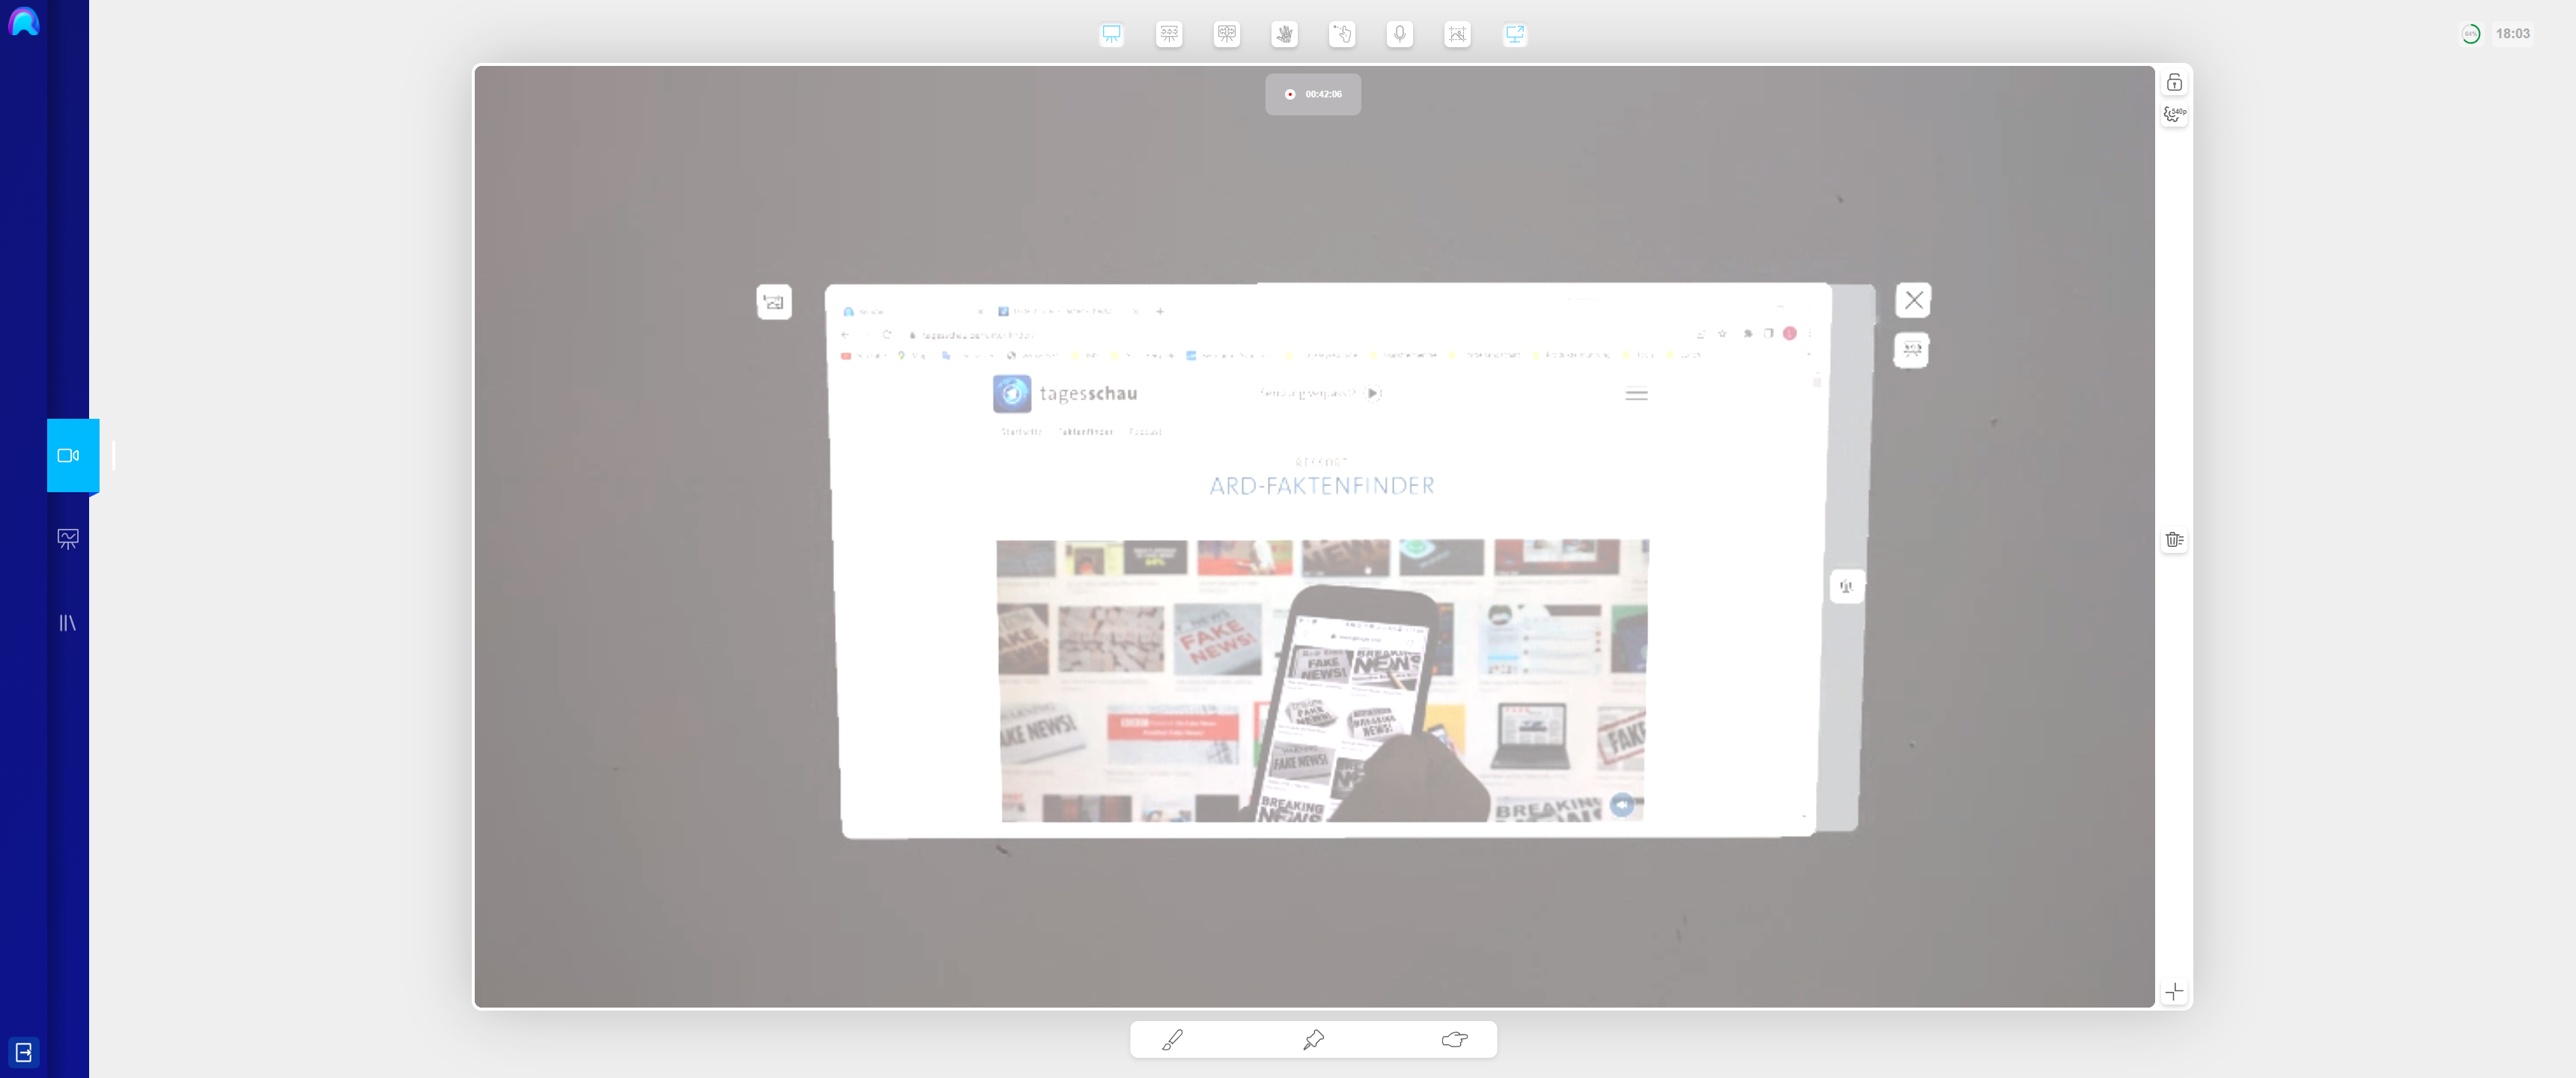
To stop sharing the screen, you simply have to press the ‘Screenshare’ button again. All previously hidden content from the Whiteboard will again be available and the Whiteboard View will is also be ready for use.
